Category Archives: Mobile

Transcend Wifi SD Card setup with Android phone

Trenscend

A few years ago, a company that I’ve never heard of called EyeFi brought out a SD card with built-in WiFi. It was a revelation and a real saviour for those who did not have WiFi built-in to their DLSRs, and did not want to upgrade to a new body, just to get WiFi on their cameras. At that time, the EyeFi 8 Gb card cost around $120, compared to a regular 8 Gb card costing around $20, so the price differential was quite large.

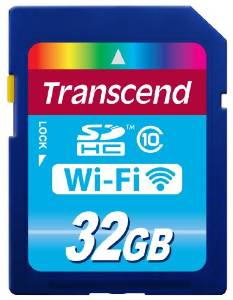
However, over the years other card manufactures have brought out their own WiFi SD cards and this is my experience of using one of them: 32 Gb WiFi card from Transcend. The price of the card at the time of writing is 55 Euros (around $60).

Trenscend box

App Installation

On the phone, go to the relevant App Store and search for Transcend and you’ll find an app called WIFI SD for Android and iOS. Download and install as normal. If you are unable to find the app, you can download it here.

Android

Configuration

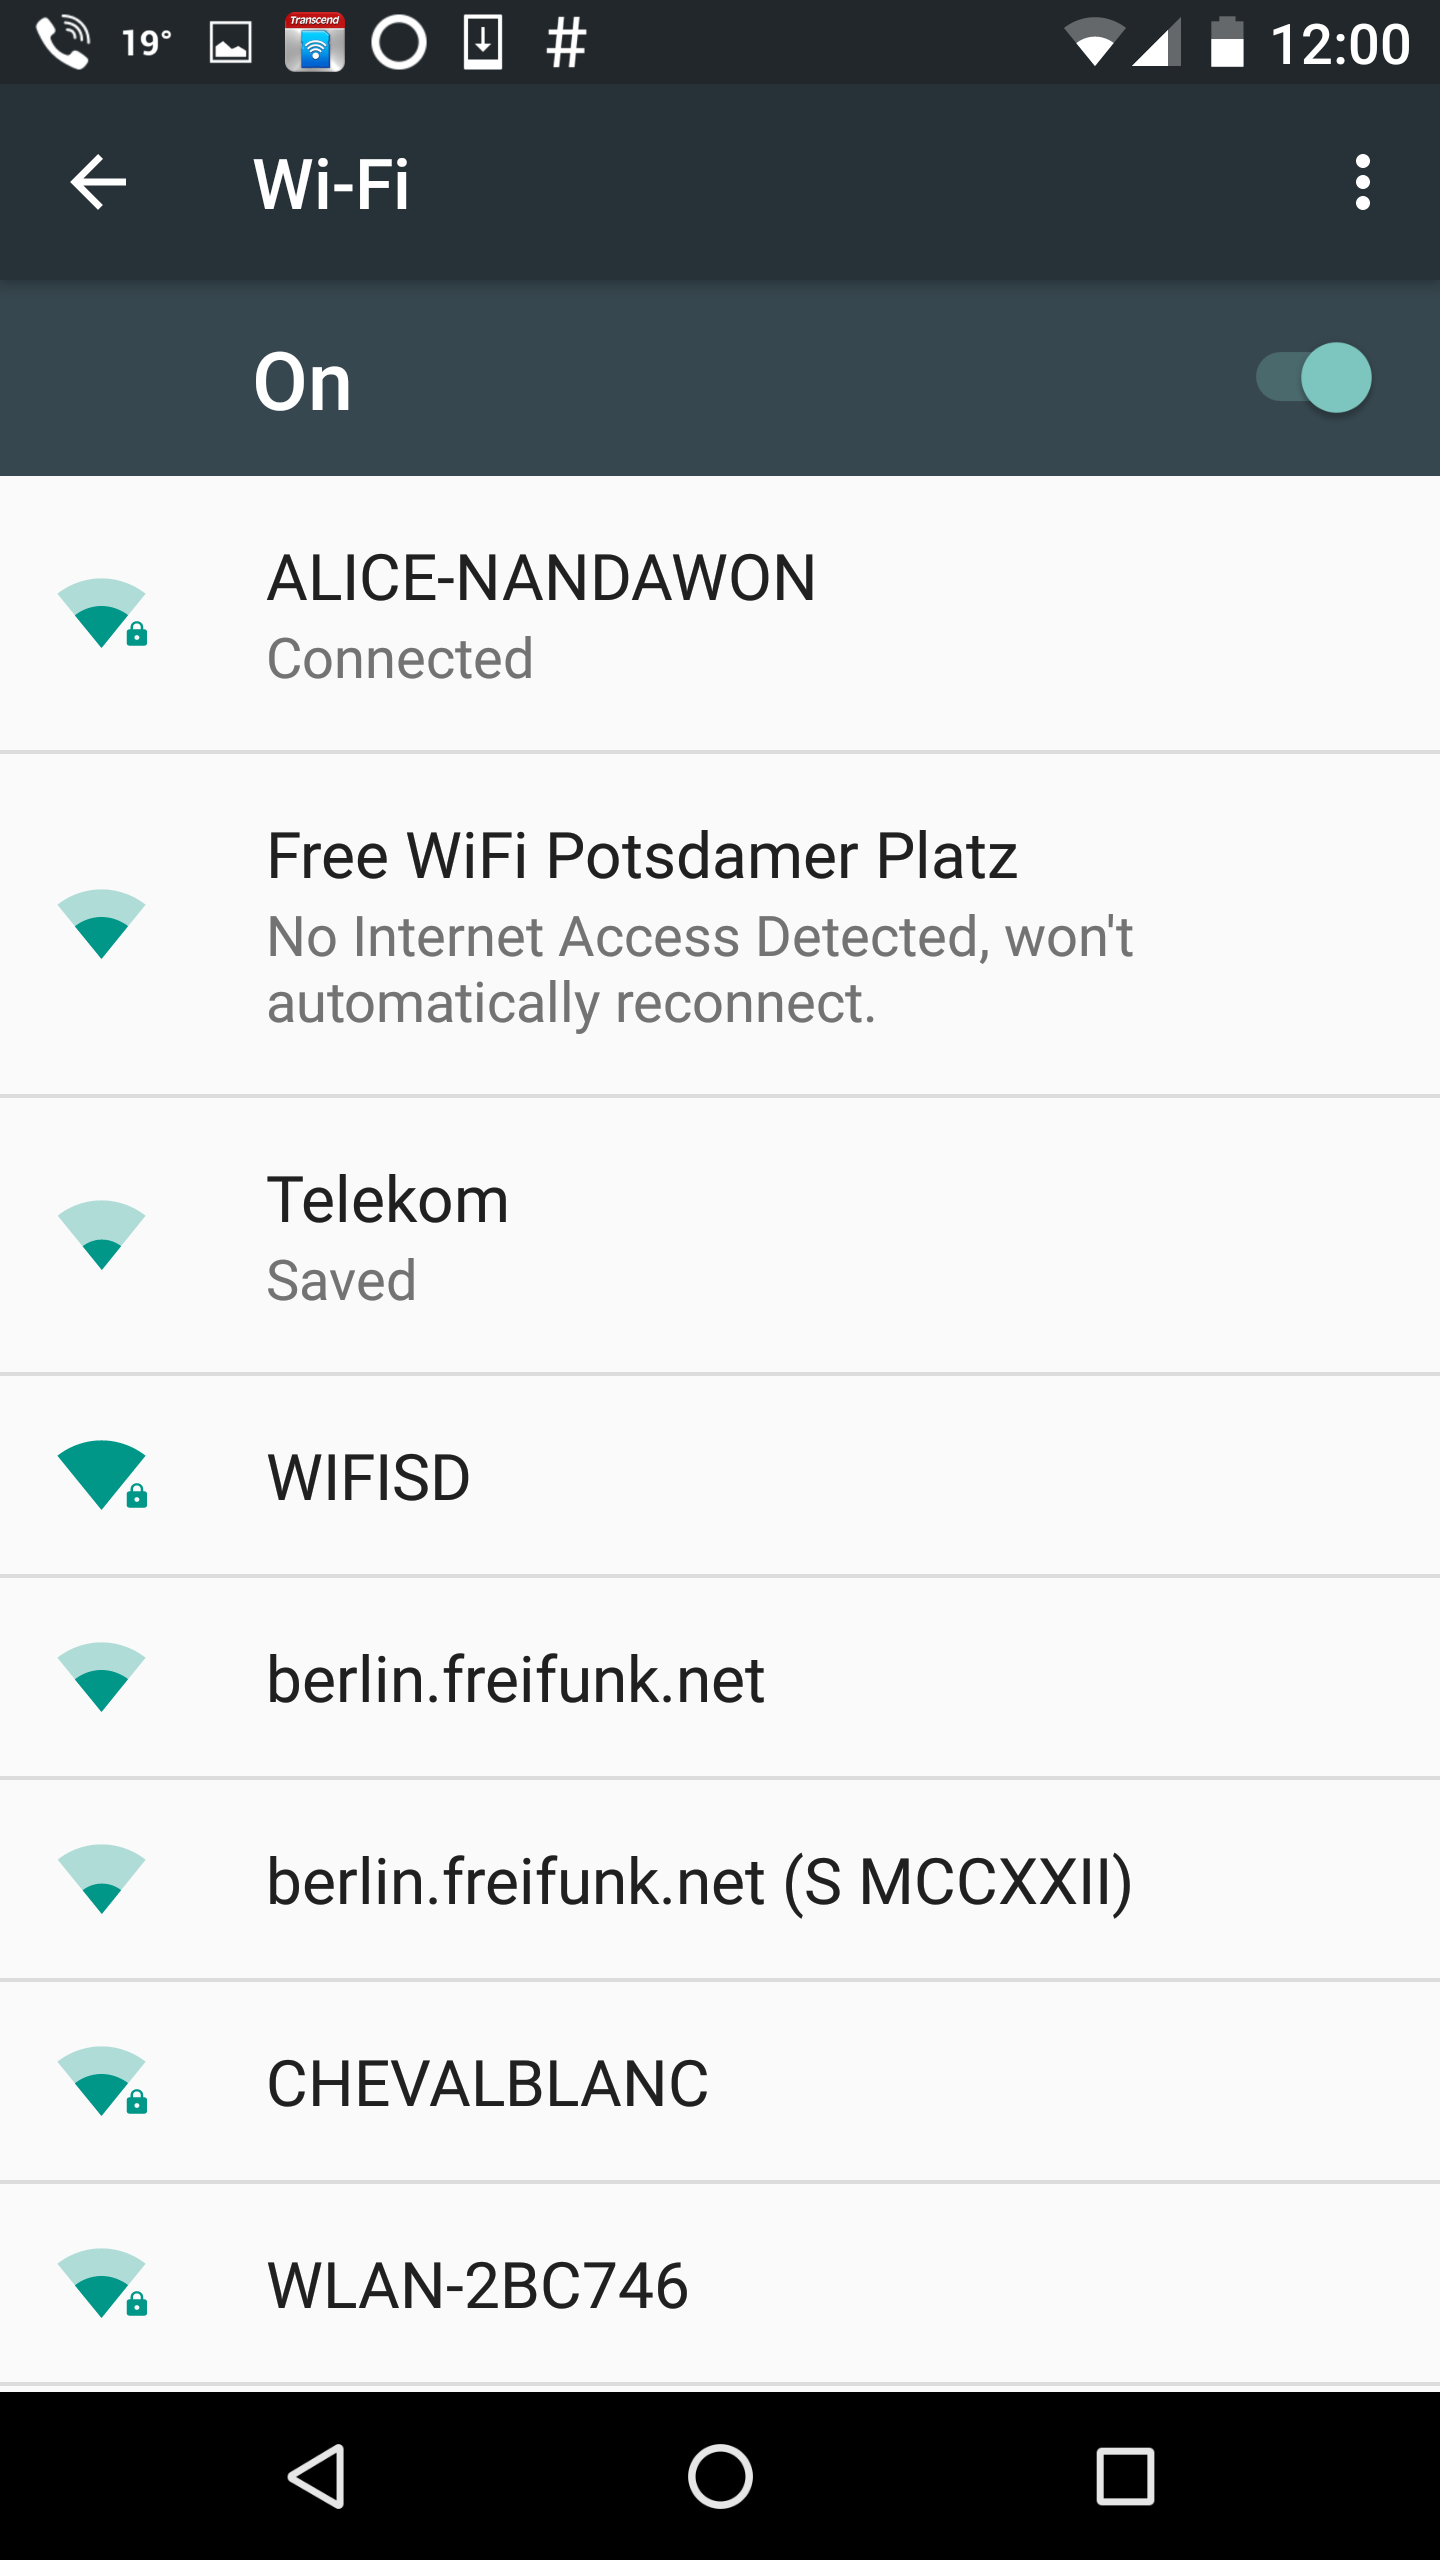
  • Open Settings-WiFi on your phone.
  • Look for WIFISD hot-spot.

Screenshot_20160909-000008

  •  Enter the default password: 12345678 (you can change this later to provide better security)

Screenshot_20160909-000021

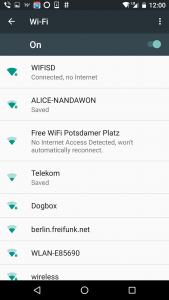
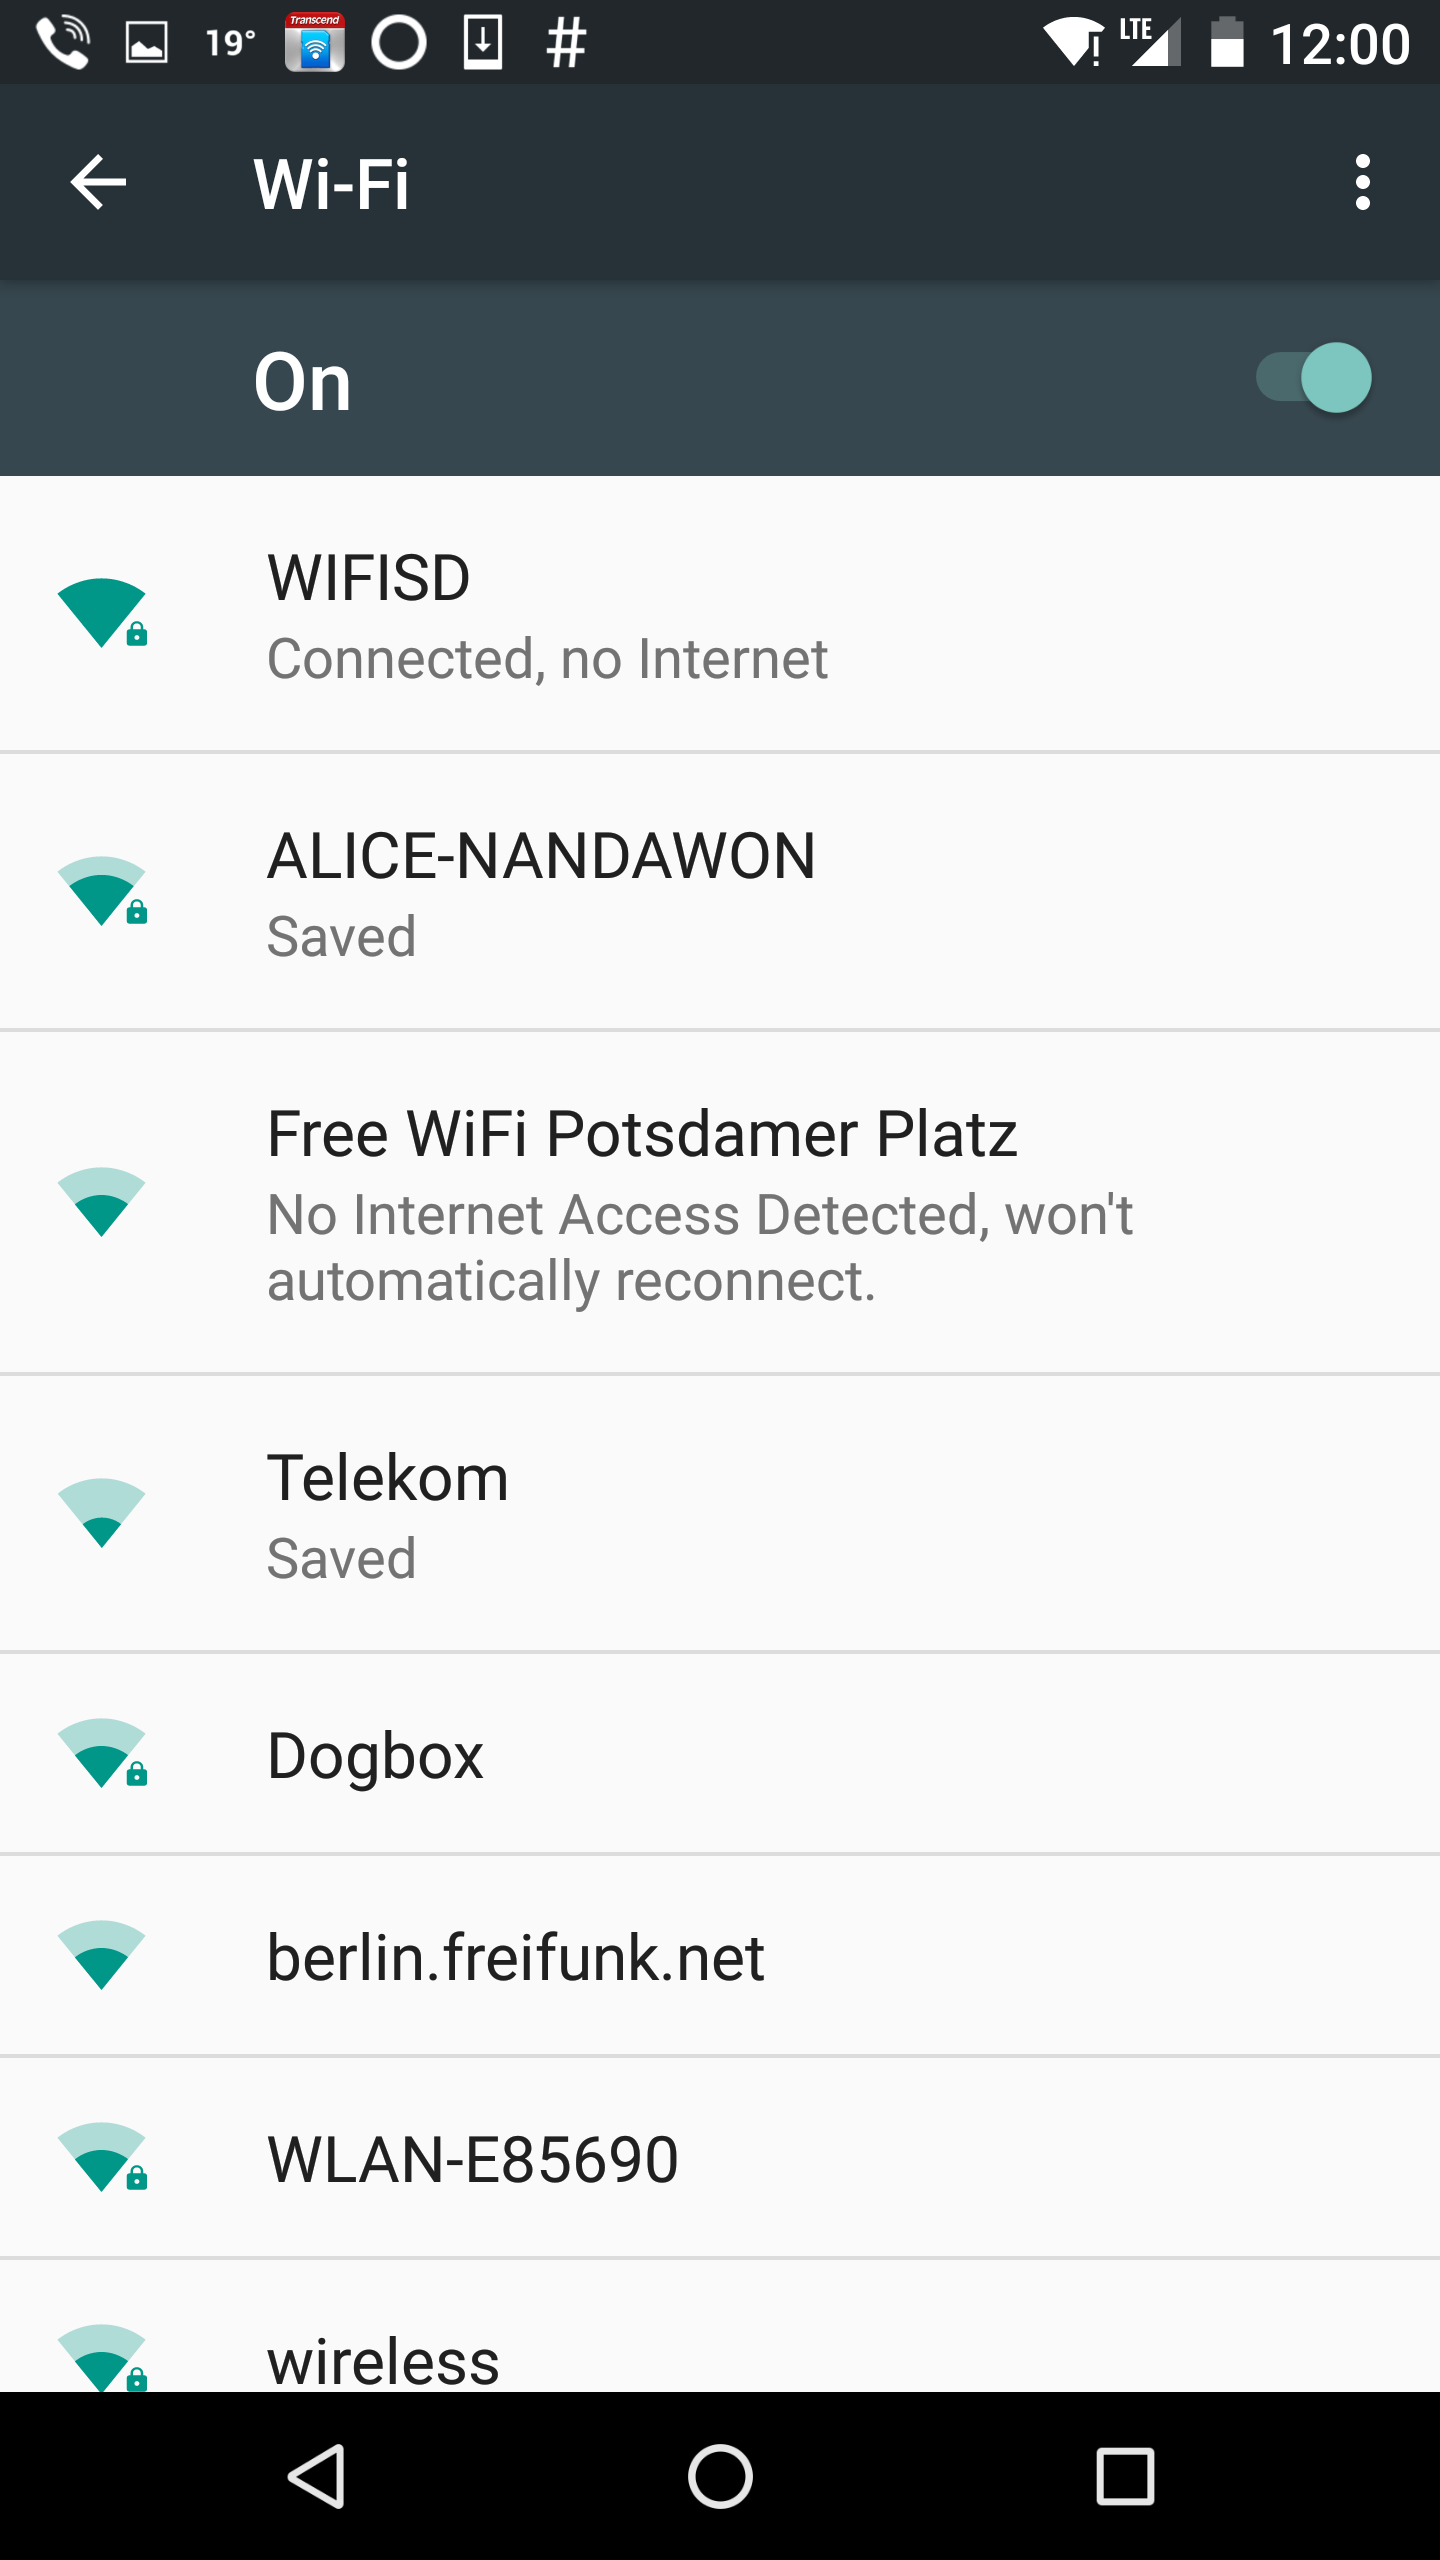
  • Once connected, it correctly reports that there is no Internet at this WiFi hot-spot.
  • Screenshot_20160909-000036You may get a message box telling you if you want to remain connected to this hot-spot.

Screenshot_20160909-000046

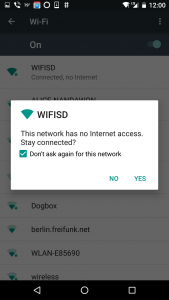
  • If so, click Yes, otherwise the phone will disconnect from this hot-spot and you will lose connection of the WiFi card.
  • This completes the WiFi connection from the phone to the camera.

Using the App

  • First of all, turn on the camera, after you’ve inserted the Trenscend card into the memory card slot. As long as the camera is ON, the WiFi is enabled on the card.
  • Connect the phone to the WiFi of the card (see Configuration section above).
  • Start up the WiFi SD app and it will attempt to connect to the card on the phone.

Screenshot_20160909-000101

  • Once connected, you will see a screen like this, with 3 icons at the top: Wifi, Camera and Settings.

Screenshot_20160909-000106

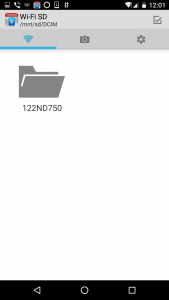
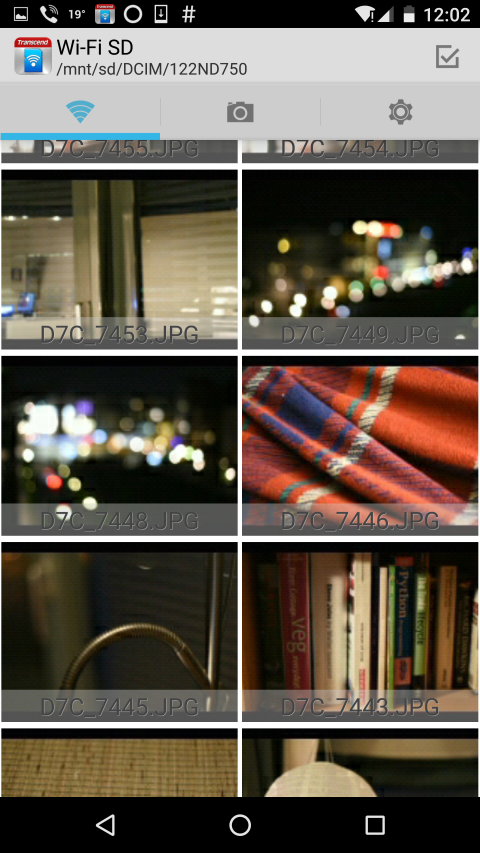
  • With the Wifi icon selected, tap on the folder icon, and you will see a list of photos from the memory card. Note that these are only thumbnails and not full-size photos, so the image quality will not be that great in this view, allows you to view all the photos from the card quickly.

Screenshot_20160909-000258 (Small)

Downloading 1 Photo at a Time

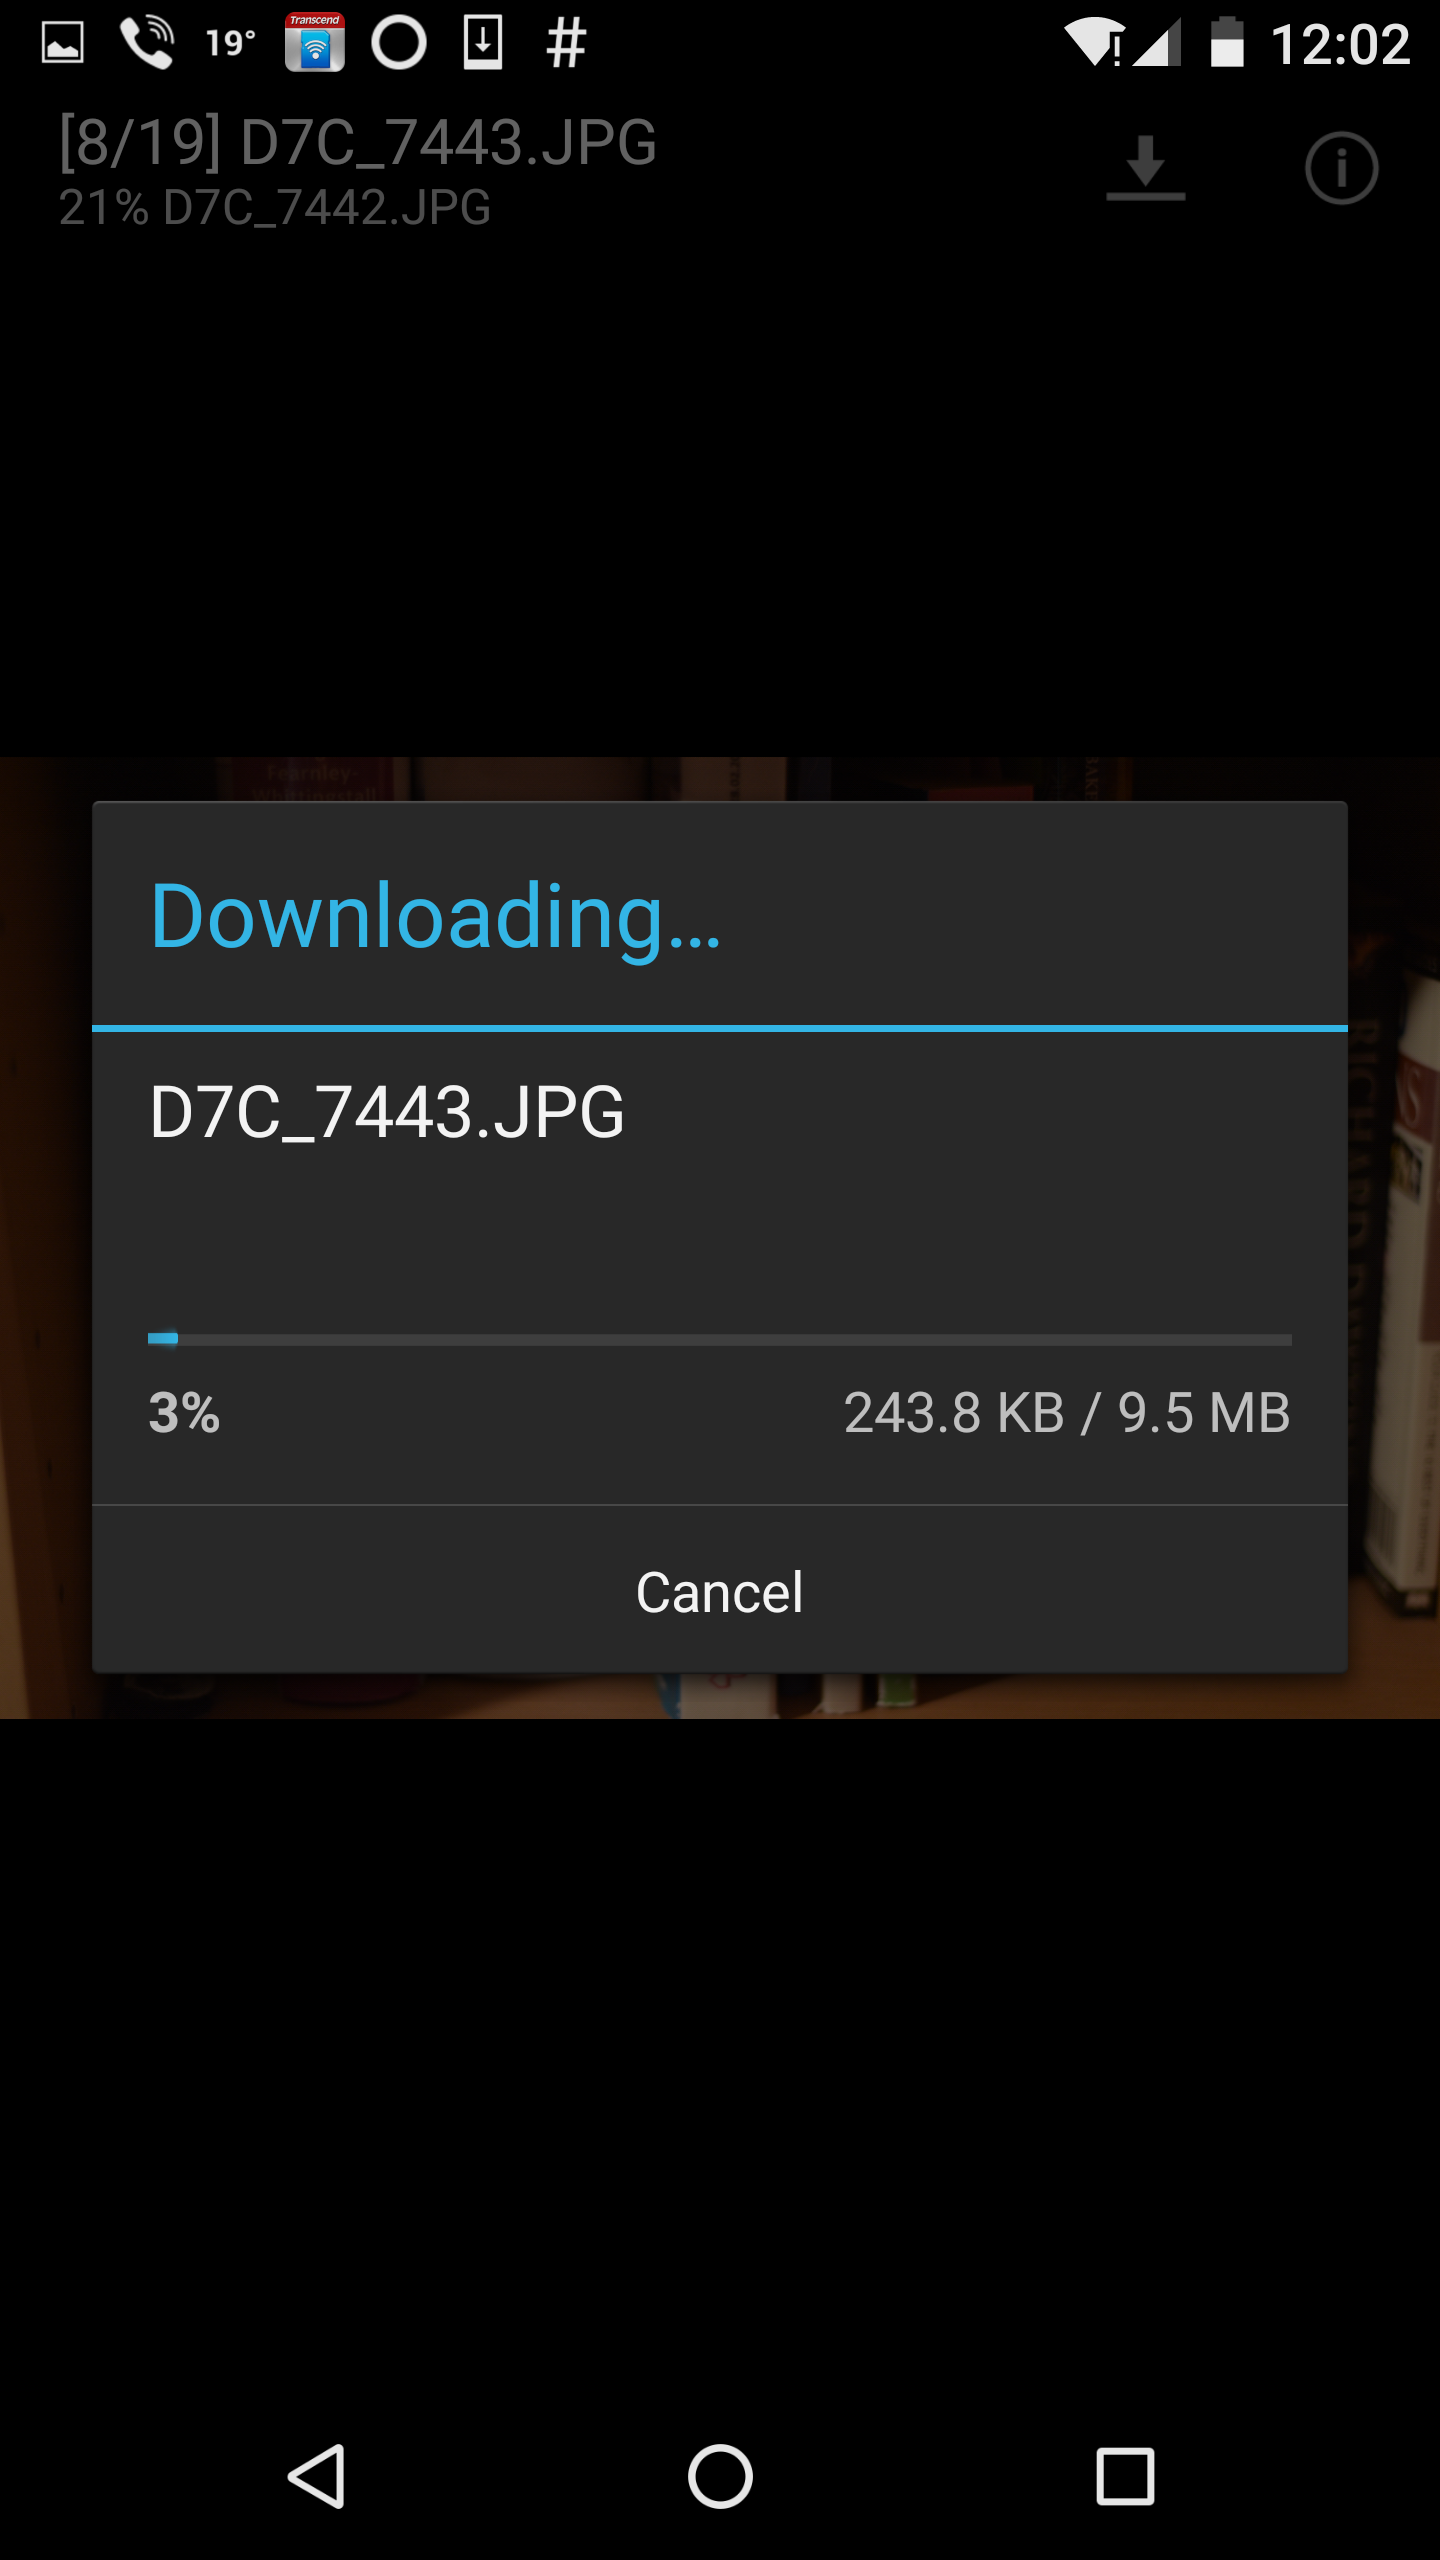
  • Tap on a photo you wish to download from the app screen. The photo  will be shown on the screen.

Screenshot_20160909-000228 (Small)

  • Tap on the Down Arrow button on the top-right corner of the screen, and the photo will start to download to your phone.

Screenshot_20160909-000246

You can then repeat the above process for each photo you wish to download, but this can be quite laborious.

Downloading Multiple Photos

Instead of downloading each photo separately, you can download a whole bunch of photos in one go. To do this:-

  • Tap on the grey ‘tick-box’ (Select) icon on the top-right corner of the screen.

Screenshot_20160909-000258 (Small)

  • Tap on the photos you wish to download. Once selected, the file name changes its colour to blue to indicate the selected photos.

Screenshot_20160909-000327 (Small)

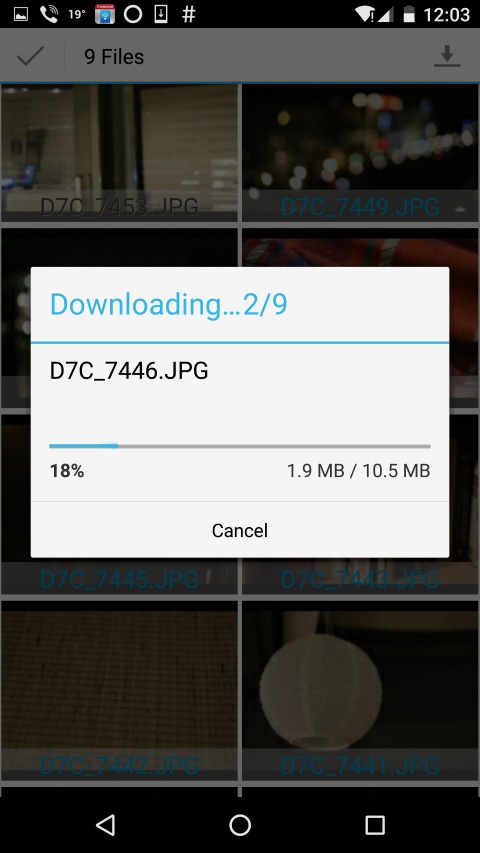
  • Tap on the large Tick icon on the top left corner. A dialog will ask you if you want to download all the selected photos.

Screenshot_20160909-000334 (Small)

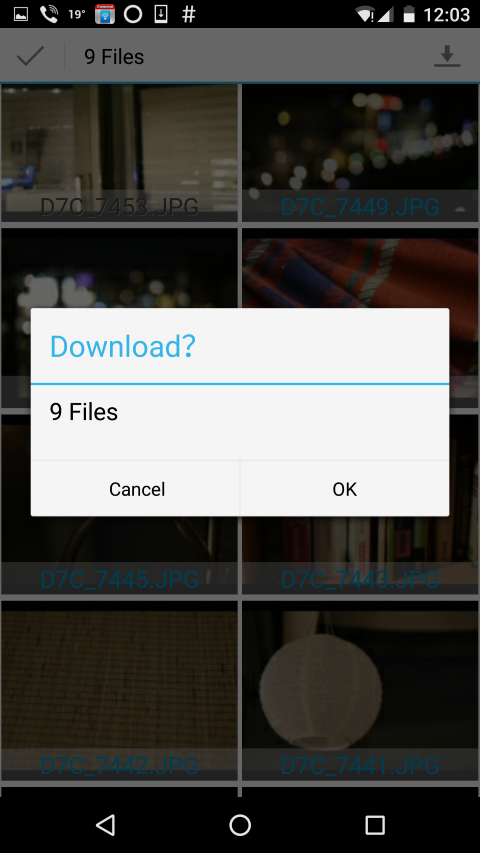
  • Click OK and the photos will start to download.

Screenshot_20160909-000356 (Small)

  • Open the File Manager app on your phone and you will be able to find the photos in a folder. In the screen shot below, they are inside a folder called NIKON PHOTOS.

Screenshot_20160909-001007

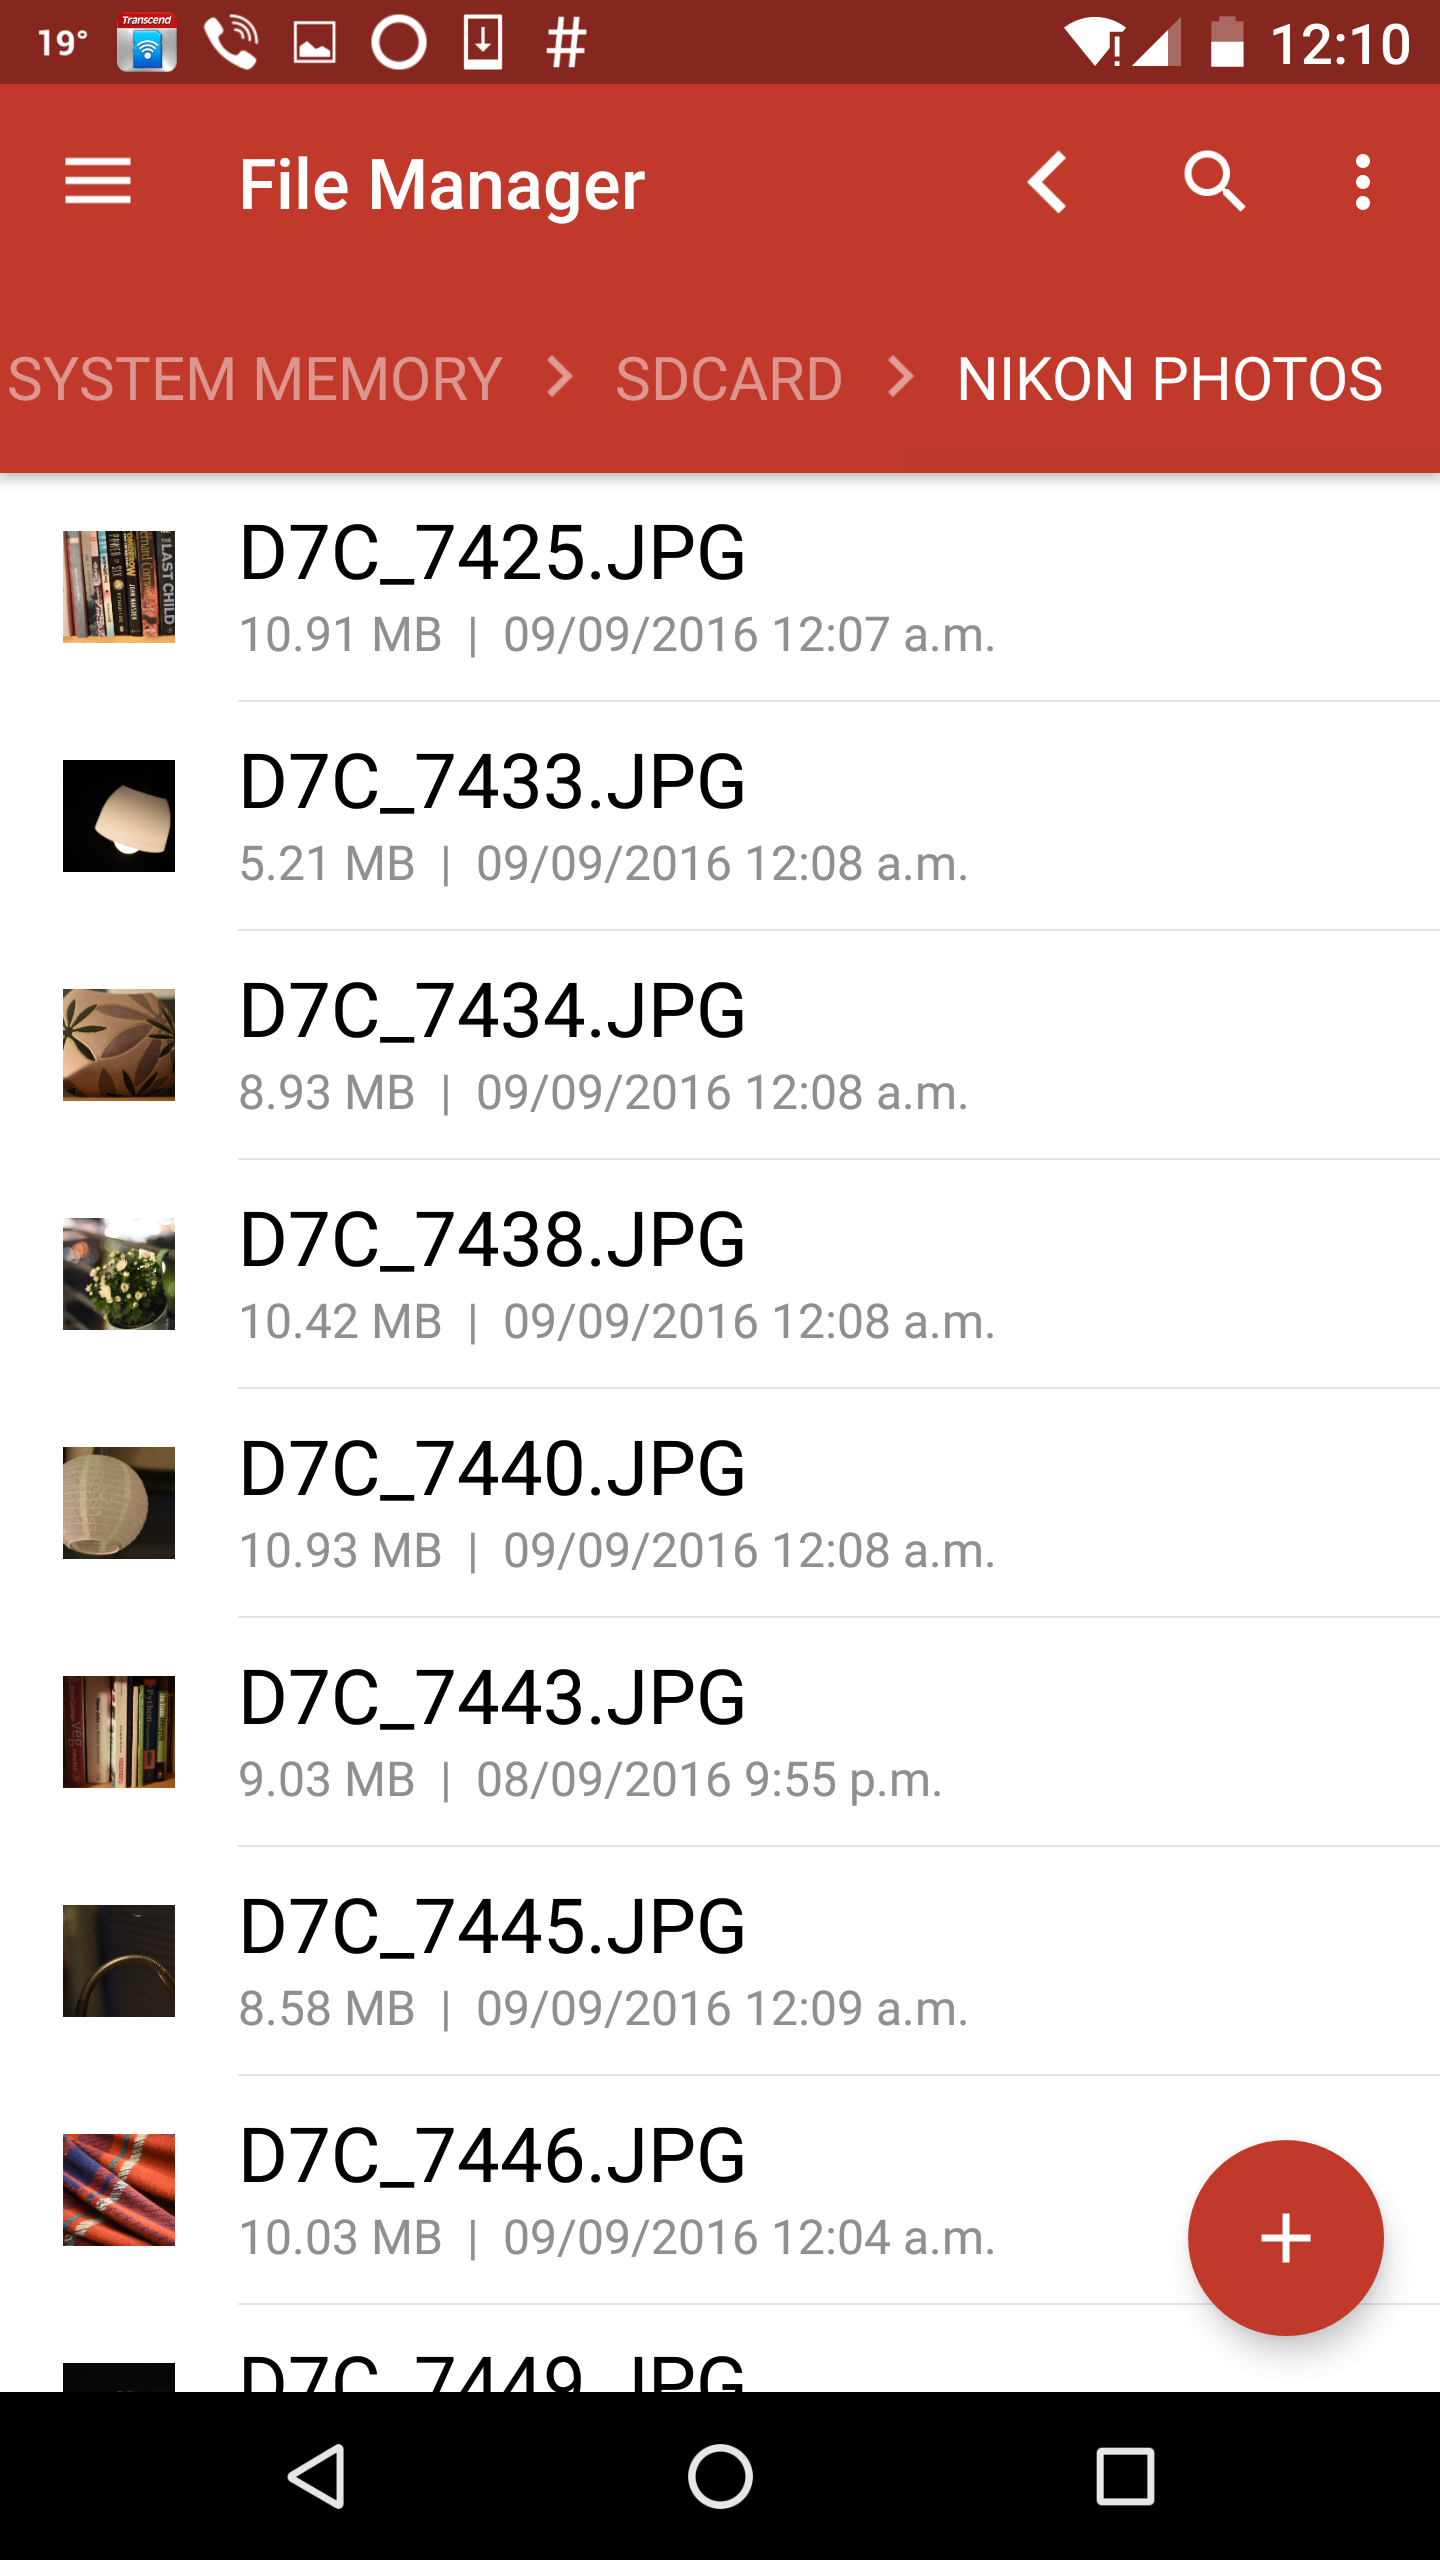
This is a folder that I created before using the app. The steps below show how to change the location where the photos will be downloaded from your camera onto your phone.

Selecting a Download Folder on your Phone

You can change the location where the photos are stored on your phone. By default, the photos will be stored in a folder called WI-FI SD inside the DCIM folder of your internal memory. If you wish to change to a different location, the steps are:-

  • Tap on the Settings (cog wheel) icon on the main screen.

Screenshot_20160909-000112

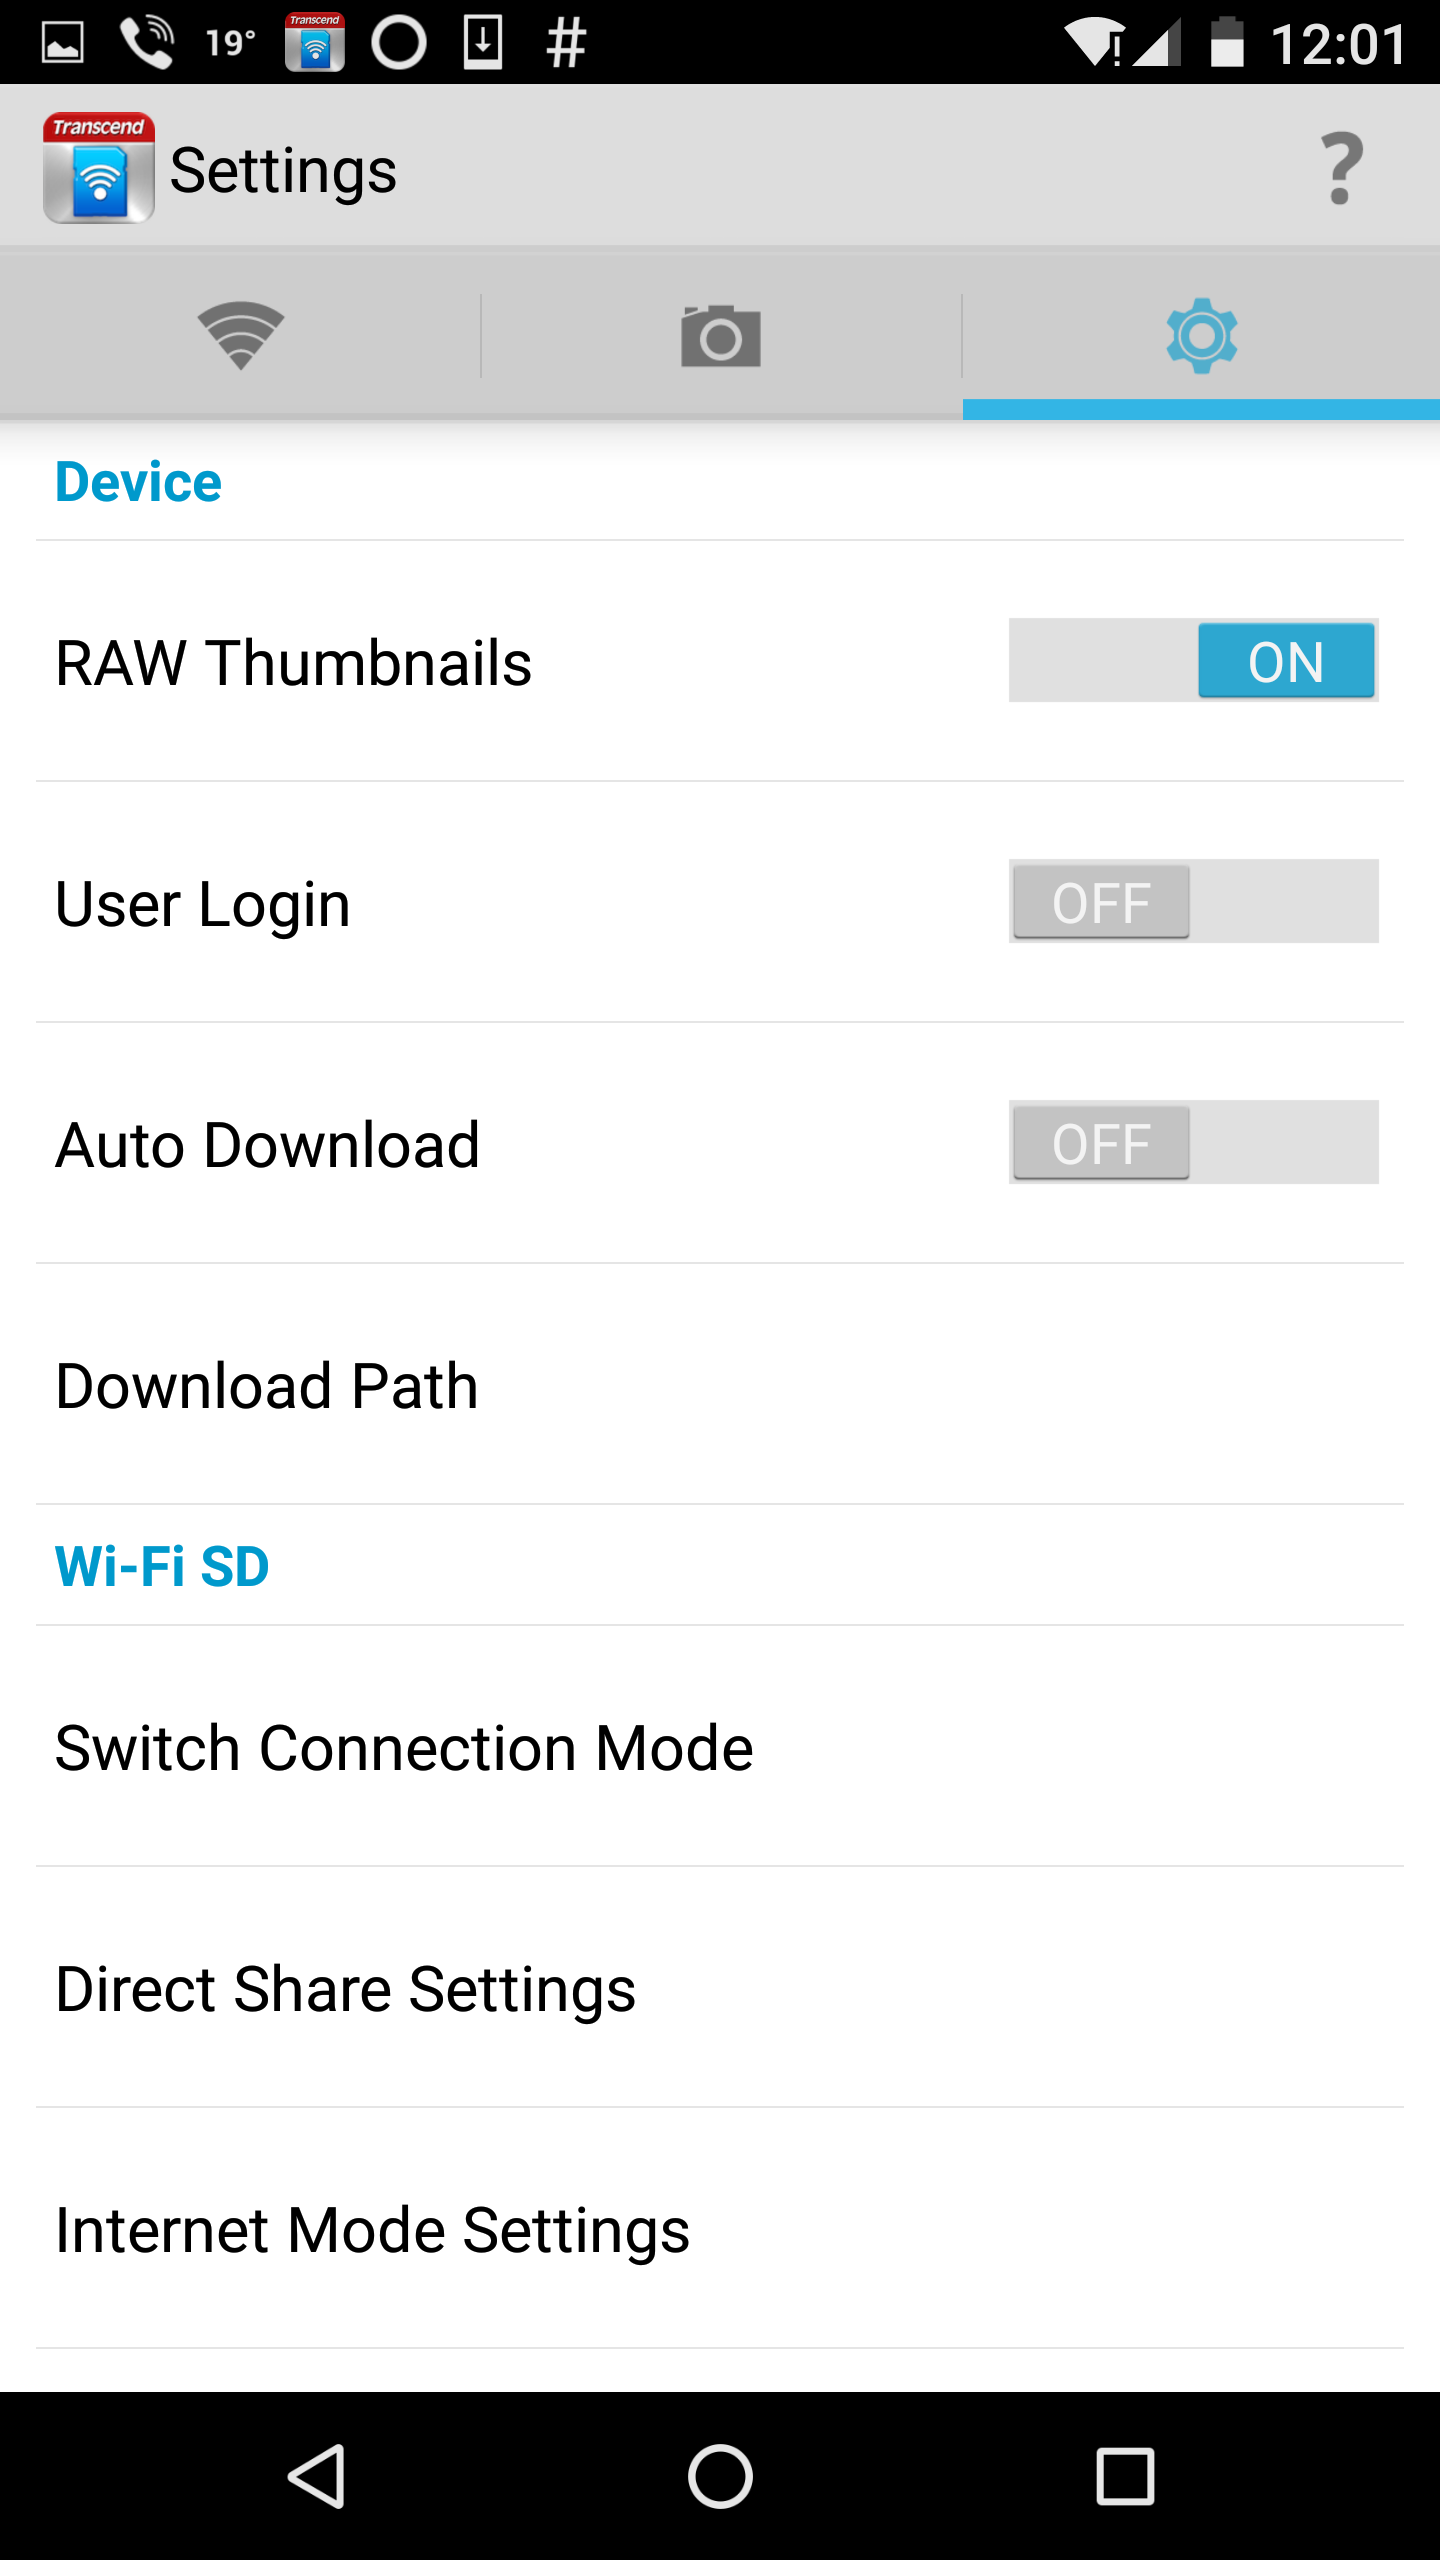
  • In the list of options shown, tap on the Download Path. This will then show you the original location where the photos will be copied to.

Screenshot_20160909-000126

  • To change this location, tap on the Edit button in the dialog. This opens a new dialog called Select a Folder.

Screenshot_20160909-000132

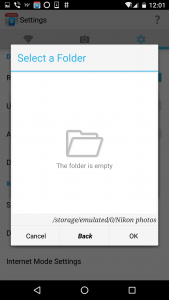
  • Tap on the Back button and search for the folder you wish to store the photos. In my case, I’ve selected a folder I created earlier called ‘Nikon Photos’.

Screenshot_20160909-000144

  • Once you have selected a folder of your choice, tap on the Apply button. Now all the photos will be downloaded to this folder instead.

4 Easy Steps to Unlock/Root Motorola Nexus 6

1 Install Android USB Driver

To install the Android USB driver on Windows 7 for the first time:

  1. Connect your Android-powered device to your computer’s USB port.
  2. Right-click on Computer from your desktop or Windows Explorer, and select Manage.
  3. Select Devices in the left pane.
  4. Locate and expand Other device in the right pane.
  5. Right-click the device name (such as Nexus S) and select Update Driver Software. This will launch the Hardware Update Wizard.
  6. Select Browse my computer for driver software and click Next.
  7. Click Browse and locate the USB driver folder. (The Google USB Driver is located in <sdk>\extras\google\usb_driver\.)
  8. Click Next to install the driver.

Alternately, to upgrade an existing Android USB driver on Windows 7 with the new driver:

  1. Connect your Android-powered device to your computer’s USB port.
  2. Right-click on Computer from your desktop or Windows Explorer, and select Manage.
  3. Select Device Manager in the left pane of the Computer Management window.
  4. Locate and expand Android Phone in the right pane.
  5. Right-click Android Composite ADB Interface and select Update Driver. This will launch the Hardware Update Wizard.
  6. Select Install from a list or specific location and click Next.
  7. Select Search for the best driver in these locations; un-check Search removable media; and check Include this location in the search.
  8. Click Browse and locate the USB driver folder. (The Google USB Driver is located in <sdk>\extras\google\usb_driver\.)
  9. Click Next to upgrade the driver.

Untitled picture

2 Download Rooting software

  1. You can download the software from the chainfire site: http://autoroot.chainfire.eu/.
  2. Look for nexus 6 and click on Download button.
    Untitled picture2
  3. Unzip the download file and the content will look like this:

Untitled picture3

3 Root the Device

  1. Turn off the device and then turn back on by holding Volume Down and pressing Power button.
  2. Connect the device with the USB. It should say USB Connected.
    Untitled picture4
  3. Double click on root-windows.bat and let it unlock and then root the device.
  4. The device will reboot after about a minute and the device will have been rooted.


4 Confirm that the Device is rooted

To confirm that the device has been rooted correctly, the easiest way is to download a Root Checker app. After installing, click on the CHECK button and the Root Access will says access granted.

Screenshot_2015-09-30-01-51-27 Screenshot_2015-09-30-01-17-39

Mobile Apps Testing Considerations

More and more software applications and services are being developed either solely on mobile platforms or in conjunction with the traditional web applications.

But first, take note of the Four Key Aspects related to testing on mobile devices.

First, mobile apps are constrained by the device’s hardware they run on: battery life, memory, storage, processor and screen size.

Second, there is usually some form of interactivity between the embedded services (phone configuration, phone dialer, contact list, accelerometer) and the apps.

Third, mobile devices are restricted to simple touched-biased UI and without mouse-over, right-click or a combination of keyboard and mouse actions that are commonly available on web-based on desktop applications.

Fourth, mobile apps rely on the external resources (i.e. mobile network connectivity, WIFI and GPS,) of the device in order to connect to the outside world, which means consideration must be taken into account that connectivity is not guaranteed at all times.

All of these play in role when considering testing of mobile apps, as one or more of these factors will determine the usability and effectiveness of the apps.

1 Device Constraints Testing

1.1 Battery life

Mobile devices primarily run on battery power, and hence we need to ensure that the app under test (AUT) is not unnecessarity consuming more battery than necessary. This can be done by battery monitoring utilities which can be downloaded from the relevant App stores.

1.2 Memory

This type of testing is to check how the AUT behaves when there is insufficient amount of memory (RAM) available on the device. This can be done by writing a simple app which ‘fills up the memory’ intentionally. The AUT should recognise the limited amount of memory available and should quit gracefully or display an appropriate message, rather than starting the app and then crashing or hangs.

1.3 Storage

Some apps (such as games) write app specific data to either the internal memory or external micro-SD card, and some apps offer the user the option to install the app itself on either internal memory or on micro-SD cards. Check that appropriate warning is displayed when the app can’t write data fully on either the internal/external memory, rather than losing the data when the memory card is full.

If an app writes data to SD card to store the user configs, e.g. game stats, then start the app without the SD card and see if the user configs are lost forever or restored when the SD cards is put back in.

3. Processor

Some apps requires a certain processing speed in order for the app the run smoothly. Check that the app runs with acceptable performance on the device having the minimum acceptable processor rating.

Interoperability between embedded services

Typically, web-based application running on Desktops don’t suffer from interruptions the appli

Some examples of apps interoperability includes:

  • Facebook app calling Gallery app when uploading photos
  • From Facebook app, capture image using Camera app and returns to Facebook
  • Using Facebook credentials to log in to Instagram app automatically
  • From Contacts app, making a call directly with Phone app
  • From Phone app, searching for contacts from Contacts app

Functional Testing

Mobile UI elements

Depending on the OS, there are different types of UI elements which are used in an app and these needs to be tested, e.g.

  • Buttons
  • Search Field
  • Secure Text field
  • Combo box
  • Date Picker
  • Text field
  • Popup button
  • Checkbox
  • Scroll bar
  • List items

App UI Navigation

User interactions
  • Swipe up/down/left/right
  • Pinch zoom (for images) or Volume control
  • Multi-touch (image rotation, zoom) especially in Tablets
  • Change in orientation

Test Considerations

  • How the app navigates from one screen to the next
  • How to go back to the previous screen
  • How to return to the home screen of the app
  • Check for consistent behaviour between screen, i.e. consistent positions of OK, Cancel or Back buttons.
  • When changing orientation does the screen re-draw correctly and all UI elements in the correct place, albeit in different orientation?

Device Configurations

  • Date display format (DD/MM/YY vs MM/DD/YY)
  • Currency symbol
  • Units of measure (km vs miles, meters vs ft)
  • Left-to-right vs right-to-left (Arabic) text display

Change the device configuration and ensure that the changes are reflected correctly in the app. In some cases, the app itself could have it’s own settings, with regards to Units, in thi case, the app setting should override the device settings.

External resources

If your application depends on network access, SMS, Bluetooth, or GPS, then you should test what happens when the resource or resources are not available.

For example, if your application uses the network,it can notify the user if access is unavailable, or disable network-related features, or do both. For GPS, it can switch to IP-based location awareness. It can also wait for WiFi access before doing large data transfers, since WiFi transfers maximize battery usage compared to transfers over 3G or EDGE.

Interruptions

Incoming calls or SMS, alarms and notifications should not cause the app to crash or behave erratically..

Security

Most apps these days require network access to data/service hosted online, which means the app needs to store user information (e.g. username/password) to connect to the service, e.g. Facebook, gmail, etc. This means, the logininfo will be stored locally on the device, which means that this information should be stored securely so that no other app or user can retrieved it by connecting the phone to the laptop.