All posts by leonardo

Zawgyi font on Viber running on Windows 10

One of the problems with using Viber on Windows is getting Burmese  text (Zawgyi) to display properly on the application. I have installed Zawgyi One font on the system and generally it works well for all other applications (MS Office and web browsers) but no Viber.

After browsing on the net and trying out various suggestions, some simple and some complex, I finally managed to get Zawgyi to display properly on Viber and it turned out to be very simply.

Simply install this Zawgyi Font for Viber on your system, i.e.

  • click the link to download it
  • right-click on the font and choose Install.
  • That’s it.

viber-screenshot


Transcend Wifi SD Card setup with Android phone

Trenscend

A few years ago, a company that I’ve never heard of called EyeFi brought out a SD card with built-in WiFi. It was a revelation and a real saviour for those who did not have WiFi built-in to their DLSRs, and did not want to upgrade to a new body, just to get WiFi on their cameras. At that time, the EyeFi 8 Gb card cost around $120, compared to a regular 8 Gb card costing around $20, so the price differential was quite large.

However, over the years other card manufactures have brought out their own WiFi SD cards and this is my experience of using one of them: 32 Gb WiFi card from Transcend. The price of the card at the time of writing is 55 Euros (around $60).

Trenscend box

App Installation

On the phone, go to the relevant App Store and search for Transcend and you’ll find an app called WIFI SD for Android and iOS. Download and install as normal. If you are unable to find the app, you can download it here.

Android

Configuration

  • Open Settings-WiFi on your phone.
  • Look for WIFISD hot-spot.

Screenshot_20160909-000008

  •  Enter the default password: 12345678 (you can change this later to provide better security)

Screenshot_20160909-000021

  • Once connected, it correctly reports that there is no Internet at this WiFi hot-spot.
  • Screenshot_20160909-000036You may get a message box telling you if you want to remain connected to this hot-spot.

Screenshot_20160909-000046

  • If so, click Yes, otherwise the phone will disconnect from this hot-spot and you will lose connection of the WiFi card.
  • This completes the WiFi connection from the phone to the camera.

Using the App

  • First of all, turn on the camera, after you’ve inserted the Trenscend card into the memory card slot. As long as the camera is ON, the WiFi is enabled on the card.
  • Connect the phone to the WiFi of the card (see Configuration section above).
  • Start up the WiFi SD app and it will attempt to connect to the card on the phone.

Screenshot_20160909-000101

  • Once connected, you will see a screen like this, with 3 icons at the top: Wifi, Camera and Settings.

Screenshot_20160909-000106

  • With the Wifi icon selected, tap on the folder icon, and you will see a list of photos from the memory card. Note that these are only thumbnails and not full-size photos, so the image quality will not be that great in this view, allows you to view all the photos from the card quickly.

Screenshot_20160909-000258 (Small)

Downloading 1 Photo at a Time

  • Tap on a photo you wish to download from the app screen. The photo  will be shown on the screen.

Screenshot_20160909-000228 (Small)

  • Tap on the Down Arrow button on the top-right corner of the screen, and the photo will start to download to your phone.

Screenshot_20160909-000246

You can then repeat the above process for each photo you wish to download, but this can be quite laborious.

Downloading Multiple Photos

Instead of downloading each photo separately, you can download a whole bunch of photos in one go. To do this:-

  • Tap on the grey ‘tick-box’ (Select) icon on the top-right corner of the screen.

Screenshot_20160909-000258 (Small)

  • Tap on the photos you wish to download. Once selected, the file name changes its colour to blue to indicate the selected photos.

Screenshot_20160909-000327 (Small)

  • Tap on the large Tick icon on the top left corner. A dialog will ask you if you want to download all the selected photos.

Screenshot_20160909-000334 (Small)

  • Click OK and the photos will start to download.

Screenshot_20160909-000356 (Small)

  • Open the File Manager app on your phone and you will be able to find the photos in a folder. In the screen shot below, they are inside a folder called NIKON PHOTOS.

Screenshot_20160909-001007

This is a folder that I created before using the app. The steps below show how to change the location where the photos will be downloaded from your camera onto your phone.

Selecting a Download Folder on your Phone

You can change the location where the photos are stored on your phone. By default, the photos will be stored in a folder called WI-FI SD inside the DCIM folder of your internal memory. If you wish to change to a different location, the steps are:-

  • Tap on the Settings (cog wheel) icon on the main screen.

Screenshot_20160909-000112

  • In the list of options shown, tap on the Download Path. This will then show you the original location where the photos will be copied to.

Screenshot_20160909-000126

  • To change this location, tap on the Edit button in the dialog. This opens a new dialog called Select a Folder.

Screenshot_20160909-000132

  • Tap on the Back button and search for the folder you wish to store the photos. In my case, I’ve selected a folder I created earlier called ‘Nikon Photos’.

Screenshot_20160909-000144

  • Once you have selected a folder of your choice, tap on the Apply button. Now all the photos will be downloaded to this folder instead.

Photography Workflow: From Shooting to Publishing

OM40
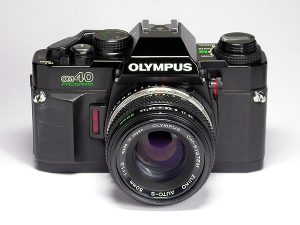
I remember the old days when I went travelling, I would take my camera, an trusty Olympus OM 40 with a 50 mm lens, and a few rolls of films.

During my travels, I would be quite picky about which pictures I actually take because a roll of film could only hold 36 exposures, and each film roll costs money to process and develop into prints. Also, in those days, after you decided to press that shutter button on the camera to take a picture, your job is done and rest is up to the photo lab, in terms of how good the prints will turn out.


But, in this digital age, you’re not only responsible for taking the photos but also managing and processing the photos themselves, and I’m finding that it requires a LOT MORE work on your part after returning from a trip. It used to be that you might come back with a few rolls of films to process, but now after each trip there are several hundreds (if not thousands of photos) from various digital photo recording devices (DLSR, smartphones, action cams, etc) you now carry with you, and it’s your job to ‘process’ them, catalogue them, store them and the publish the ones you want to show on various online sources or on your social media.

My wife and I recently returned from a weekend break hiking to Preikestolen in Norway and I thought it would be interesting to log all the equipment I took with me, how they were used and what I had to do once I returned from the trip.

Equipment list:

  • D7000 + 18-200mm f3.5-5.6 + spare battery and charger
  • Speedlight SB-600
  • Manfrotto tripod
  • Velbon UB-4000 monopod
  • Alpha 20 mini tripod
  • iPhone 5
  • iPhone 6+ (with Manfrotto KLYP+ cover and superwide-angle lens, and tripod adapter)
  • Nexus 6
  • Lumia 920 with Microsoft Hyperlapse app
  • 6-ports USB mains charger
  • 4-ports portable USB charger
  • Smartphone grip with tripod socket

Mobile Apps

  • Native Photos app on Nexus 6 (for recording 360 degrees panoramio)
  • GeotagPhotosPro app on iPhone 5 (for recording GPS tracks)
  • Microsoft Hyperlapse app on Lumia 920 for timelapse video capture
  • HERE app on iPhone 5 and Lumia 920 (for drive navigation)

You might ask why take so many devices when you could potentially use just one device for those separate tasks. It is possible but as anyone knows, the downside of using a single mobile phone is that the phone cannot support all of those tasks all day without draining the phone battery. So, I prefer to limit each phone to one task to extend the battery usage of the devices I’m carrying.

Post processing on Laptop

  • Adobe Lightroom (for bulk editing of photos and geotagging photos from DSLR)
  • Google Picasa (for photo libary and face detection)
  • FreeCommander 5.0 (for bulk file renaming)
  • Google Earth

So, below is the ‘workflow’ I normally follow on a shooting trip.

First: Take the right kind of pictures

The post processing that you do once you’re back home on your computer is only possible if you’re taking the right kind of picture in the first place. The software like Lightroom are great but they can only enhance the images that’s already captured and present in the picture but they cannot create images out of thin air. Two basic problems with photos taken normally are lack of any details (such as completely clear sky) or blurry photos. Lightroom cannot add clouds if there are none in the photos in the first place, nor can it fix poorly focused or blurry photos. Yes, they can remove some minor shakes from an image but out-of-focus or blurred photos are beyond the scope of the current batch of software.

The settings I use most on camera when I’m on a trip are Image Quality, ISO, Bracketed Exposures, White Balance and Shooting Mode. Let’s go through these in a bit more details.

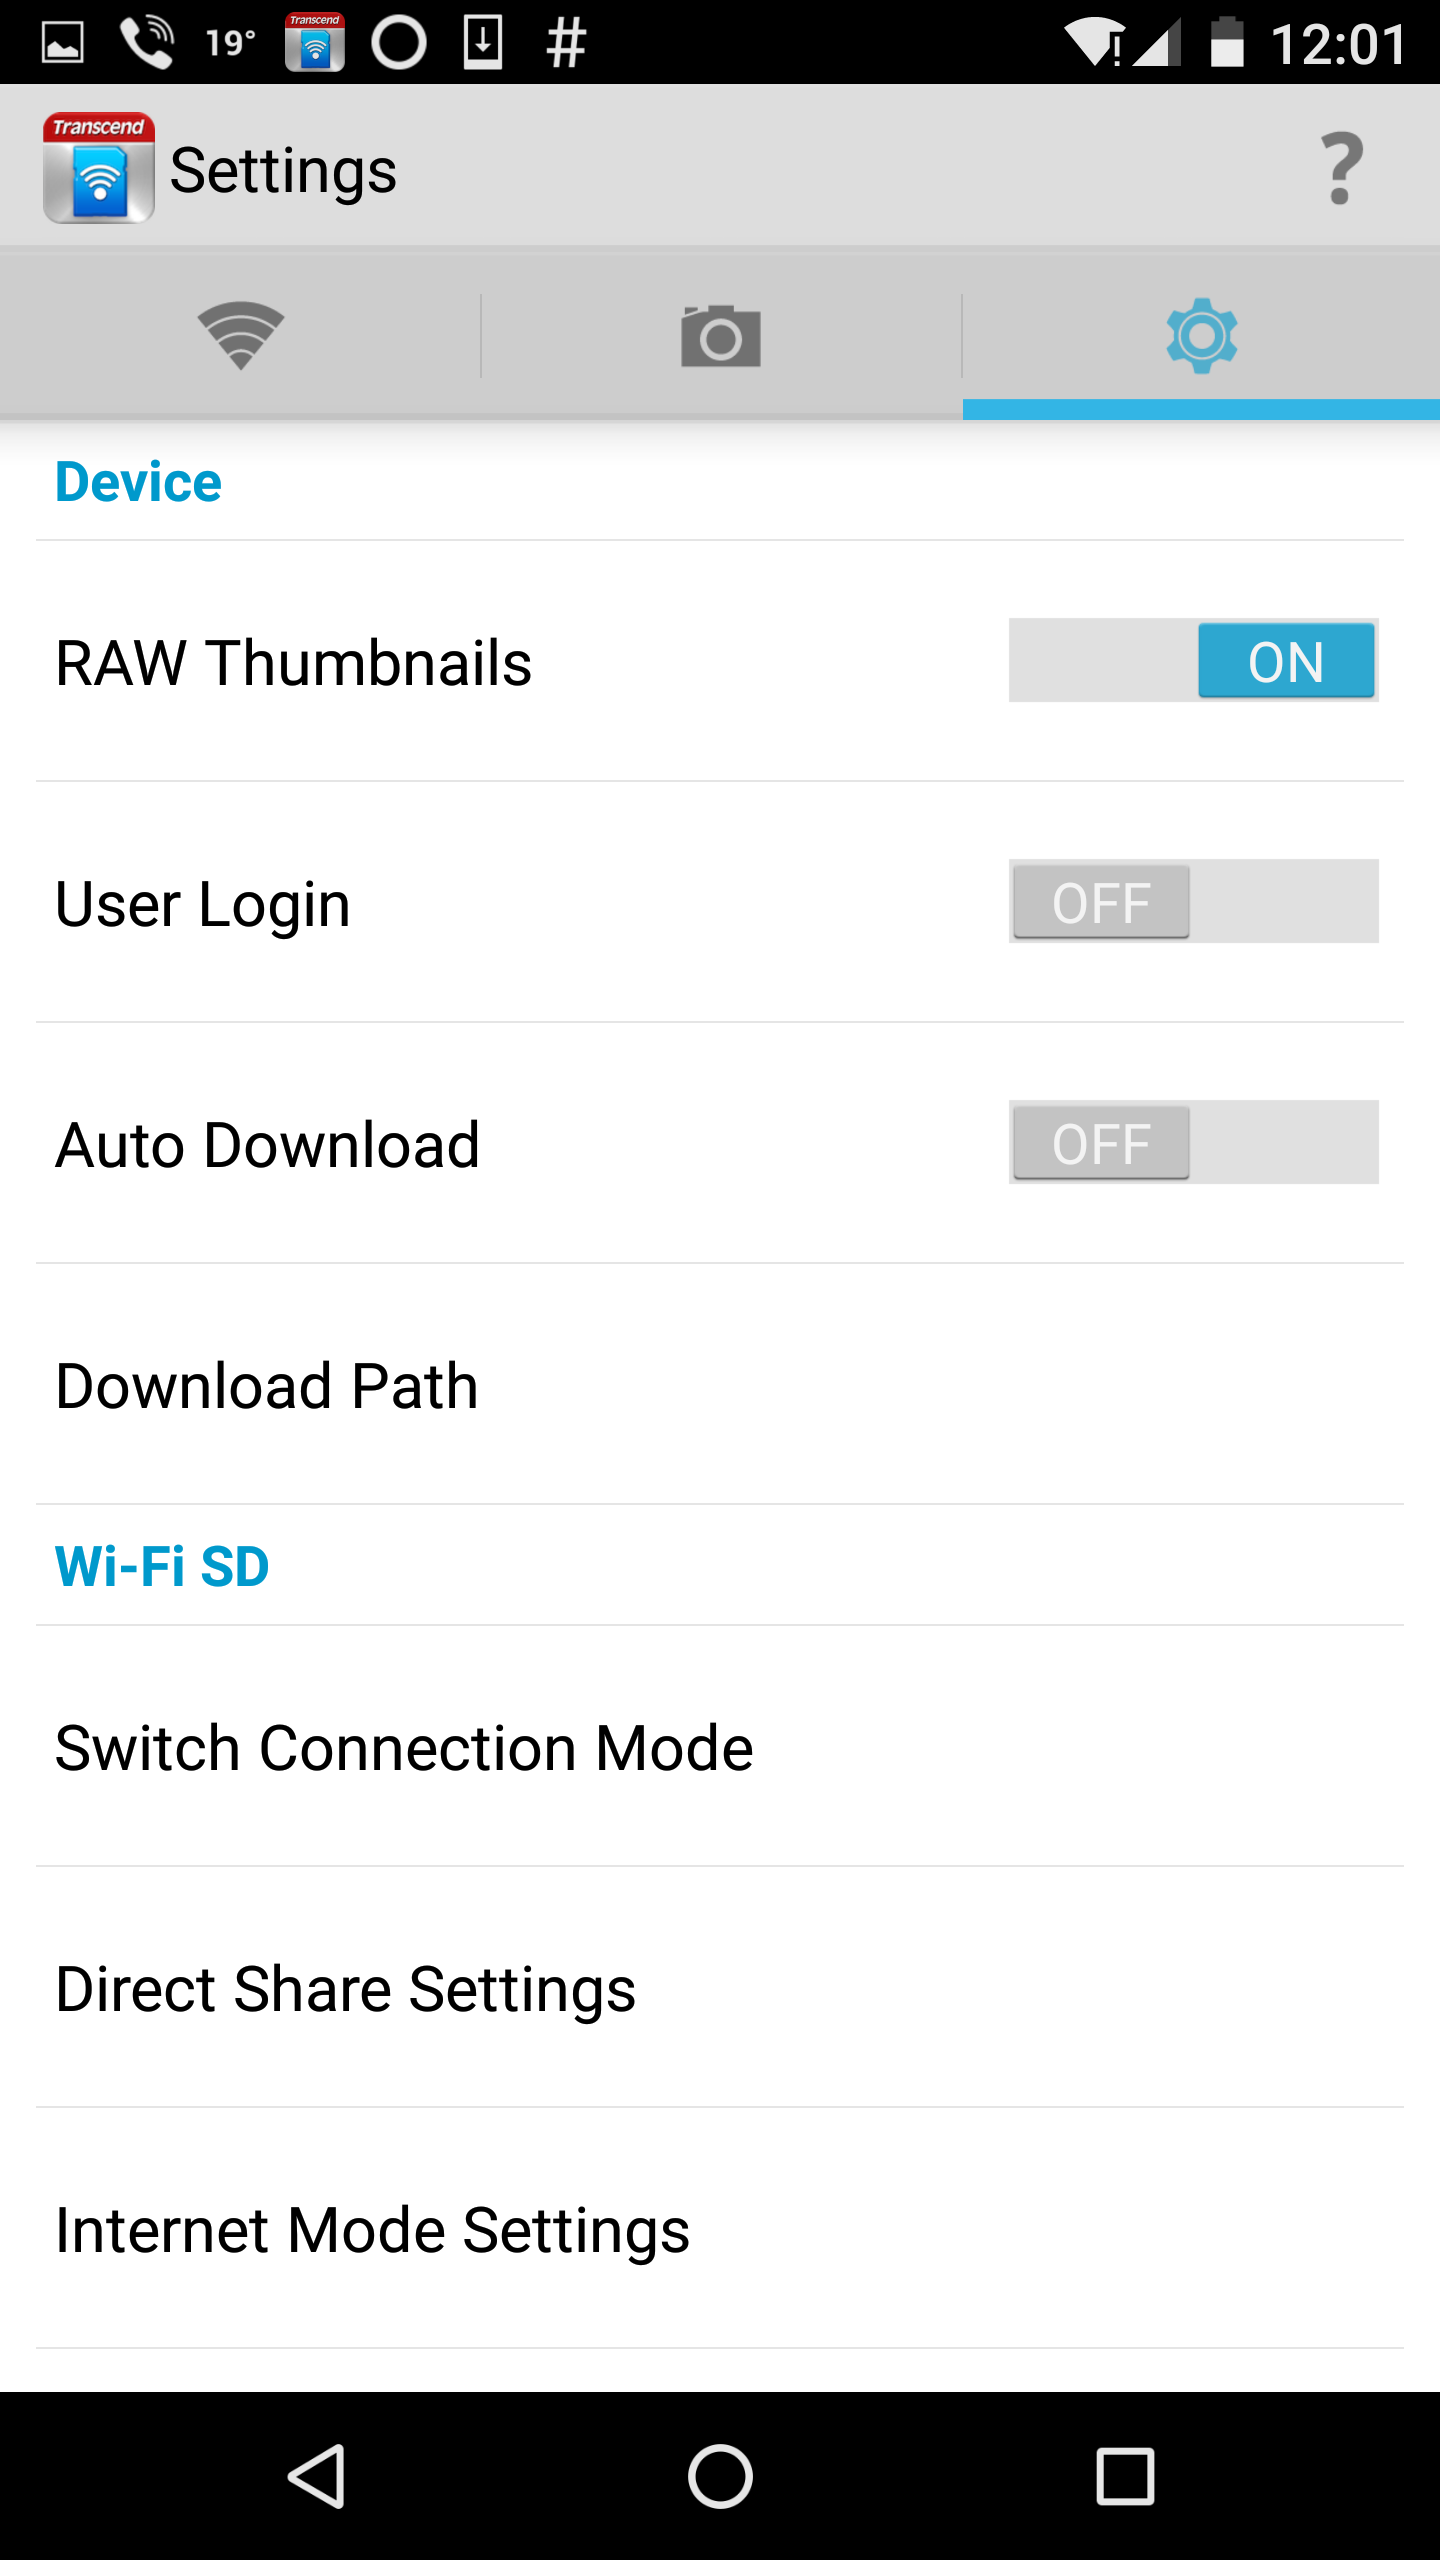
Image Quality: I always tend to use RAW format, unless I know that what I’m taking is only to be shared on Social Media, such as food or selfies. But for proper retouching photos back home on the laptop, I use RAW format images instead.

ISO: There is no fix ISO that I use, but I would always set it to as low a value as possible for the condition of the light, i.e. either 100 or 200 on a bright day light, 400 or 800 for overcast days or indoors, 1600 or 2000 for night shoots or late evenings when I don’t have or want to use a tripod.

White Balance: I usually set this to Sunlight, if I’m shooting during the day, regardless of the actual condition outdoors. It could be raining or it could be indoors during the day, but I find that Sunlight white balance gives me the best neutral colours for retouching afterwards. For night shots, I never found the Tungsten or Fluorescent white balance setting on the camera to be satisfactory

Bracketed Exposures: For every landscape photos (especially those with a lot of sky in the scenery), I would always shoot multiple exposures for each scene, bracketed with +/- 2 EV, and then use Lightroom to merge these photos together to give a high dynamic range photo. There are times when you can’t or don’t want to shoot multiple exposures, such as when the scene has fast moving objects, like cars, animals, etc. But for most scenes, even when the objects are not absolutely stationary it is still possible to shoot multiple exposures in quick succession, using the Continuous Shotting mode on the camera (see below).

Shooting mode: This is set to Continuous (Low), so that pressing down on the shutter button will fire out 3 exposures instead of one. This works in conjunction with Bracketed Exposure settings, so that all 3 exposure values (-2, 0, and +2 EV) are captured in one press of the shutter button.

Post-Processing in Lightroom


Micro-tips: Lightroom Local Adjustments

  • Use paint brush and with Exposure +ve or -ve, paint a part of the photo either light up or brighten up that part.
  • For each adjustment use a New brush each time.
  • Press O to see the affected areas. It will be highlighted in Red.
  • If you’ve overdid the paint brush and affected areas of the photo you don’t want to be affected, click on the Erase and then simply remove the areas you don’t want to be affected by the paint brush.

Micro-tips: Lightroom Global Adjustments

Global adjustments

  •  Highlight -100
  • Shadow 100
  • Hold down ALT and drag White slider to the right until something appears
  • Hold down ALT and drag Black slide to the left till black sillouttes starts to appear
  • Boost Contrast and a bit of exposure
  • Add a bit of Clarity
  • Lens correction:
  • Profile:
    • Select Enable Profile Correction
  • Color:
    • Remove Chromatic abberation ON
    • Defringe amount to middle of the slider for both
  • Manual:
    • Vertical transform to around -10 to -15 to adjust verticals to straighten up
  • Effects section:
    • Post Crop Vignetting – bring it back to around 25-30%
    • Select Constrain Crop

Photography Travel List

One of the most stressful things when planning a trip anywhere is to make sure that you’ve packed all your camera equipment with you. There’s nothing more annoying than spending hours and days travelling to a new place, only to discover that you’ve forgot to pack one important item you need for your. I’ve done it more than once, and so to avoid this happening,  I’ve built up a standard check-list that I use to make sure that I bring all I need for the trip.

Of course, I’m not listing the main camera body or lenses or flash. These would be included regardless so I don’t need to check for these large items.

Camera Related

  • Spare batteries for Flash
  • Remote trigger for camera
  • Lens / Sensor Cleaning
  • Lens Cloth / Lens Tissue / Microfiber Cloths
  • Filters and filter holder
  • Memory Cards – formatted and empty
  • Tripod
  • Monopod
  • Tools for Tripods / Plates

Power Supplies

  • Camera batteries – all fully charged
  • Camera battery charger and mains cable
  • 6x USB charging block, and mains cable
  • Mains socket adapters
  • USB and iPhone cables
  • Cigarette lighter USB ports

Mobiles

  • Mobile phones – batteries charged
  • Mobile phone holder for car
  • Offline maps downloaded for navigation

Computers

  • Laptops and laptop power supplies
  • Mouse
  • Tablets (Android and iPad)
  • Backup Hard Drives
  • Movies For Computer
  • Audio Aux Cable For iPhone / MP3 Player
  • Earphones
  • 2x earphone splitter

QA vs Testing

As someone who have been in the software testing field for over 20 years I have seen the shift in the industry with more demands for QA Engineers as opposed to Test Engineers.

This is in reflection in the industry that simply doing the testing of the software once it has been built doesn’t ensure quality in the product because by then if major bugs are found in software either at modular level, system level or system integration level, it is already too late in the development process.

In the past, QA and Testing are considered to be interchangeable terms but from my experience they are quite different and I’d like to describe what these differences are, in simple terms.

Definition of Quality Assurance

ISO9000 defines Quality Assurance as “…a part of quality management focused on providing confidence that quality requirements will be fulfilled”.

In other words, QA is concerned with laying down correct processes in procedures in the all stages of Software Development Life Cycle (SDLC), from requirements gathering, user story capture and articulation, UX/UI and system designs, coding, testing and deployment,  such that quality is backed into the product and not an afterthought.

If I could make an analogy to society in general, QA is similar to Law Makers and Supreme Judges laying down the laws of the land; the code of conduct that every citizen should follow, and prevention of unruly behaviour so that the society as a whole could function well as one. Furthermore, the role of Law Makers also involve monitoring of the current laws and continuously improving the processes and procedures as circumstances change in the society.


Hopefully, I’ve explained the differences between these two terms, then it leads to ask the question, ‘Who is the custodian of quality in a development team? The answer is, of course, the Team itself, from Product Owners, Project Managers, Analysts, Designers, Developers, Testers, Systems Engineers,  etc. who are part of the team and each one is responsible to built in Quality as a feature into the product.


4 Easy Steps to Unlock/Root Motorola Nexus 6

1 Install Android USB Driver

To install the Android USB driver on Windows 7 for the first time:

  1. Connect your Android-powered device to your computer’s USB port.
  2. Right-click on Computer from your desktop or Windows Explorer, and select Manage.
  3. Select Devices in the left pane.
  4. Locate and expand Other device in the right pane.
  5. Right-click the device name (such as Nexus S) and select Update Driver Software. This will launch the Hardware Update Wizard.
  6. Select Browse my computer for driver software and click Next.
  7. Click Browse and locate the USB driver folder. (The Google USB Driver is located in <sdk>\extras\google\usb_driver\.)
  8. Click Next to install the driver.

Alternately, to upgrade an existing Android USB driver on Windows 7 with the new driver:

  1. Connect your Android-powered device to your computer’s USB port.
  2. Right-click on Computer from your desktop or Windows Explorer, and select Manage.
  3. Select Device Manager in the left pane of the Computer Management window.
  4. Locate and expand Android Phone in the right pane.
  5. Right-click Android Composite ADB Interface and select Update Driver. This will launch the Hardware Update Wizard.
  6. Select Install from a list or specific location and click Next.
  7. Select Search for the best driver in these locations; un-check Search removable media; and check Include this location in the search.
  8. Click Browse and locate the USB driver folder. (The Google USB Driver is located in <sdk>\extras\google\usb_driver\.)
  9. Click Next to upgrade the driver.

Untitled picture

2 Download Rooting software

  1. You can download the software from the chainfire site: http://autoroot.chainfire.eu/.
  2. Look for nexus 6 and click on Download button.
    Untitled picture2
  3. Unzip the download file and the content will look like this:

Untitled picture3

3 Root the Device

  1. Turn off the device and then turn back on by holding Volume Down and pressing Power button.
  2. Connect the device with the USB. It should say USB Connected.
    Untitled picture4
  3. Double click on root-windows.bat and let it unlock and then root the device.
  4. The device will reboot after about a minute and the device will have been rooted.


4 Confirm that the Device is rooted

To confirm that the device has been rooted correctly, the easiest way is to download a Root Checker app. After installing, click on the CHECK button and the Root Access will says access granted.

Screenshot_2015-09-30-01-51-27 Screenshot_2015-09-30-01-17-39