A few years ago, a company that I’ve never heard of called EyeFi brought out a SD card with built-in WiFi. It was a revelation and a real saviour for those who did not have WiFi built-in to their DLSRs, and did not want to upgrade to a new body, just to get WiFi on their cameras. At that time, the EyeFi 8 Gb card cost around $120, compared to a regular 8 Gb card costing around $20, so the price differential was quite large.
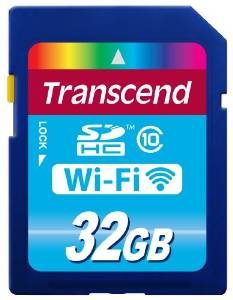
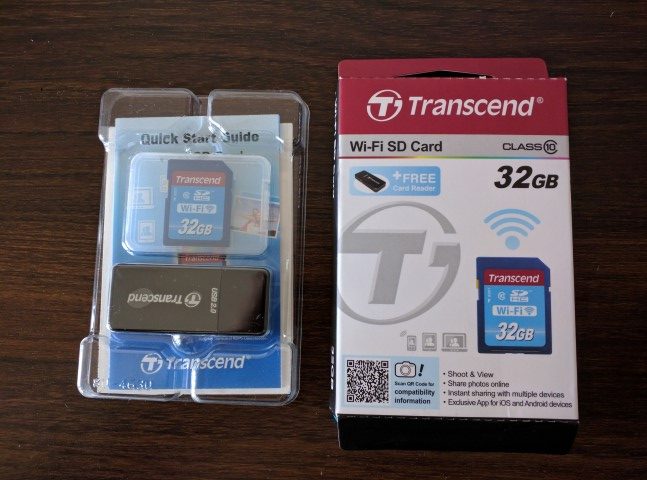
However, over the years other card manufactures have brought out their own WiFi SD cards and this is my experience of using one of them: 32 Gb WiFi card from Transcend. The price of the card at the time of writing is 55 Euros (around $60).
App Installation
On the phone, go to the relevant App Store and search for Transcend and you’ll find an app called WIFI SD for Android and iOS. Download and install as normal. If you are unable to find the app, you can download it here.
Android
Configuration
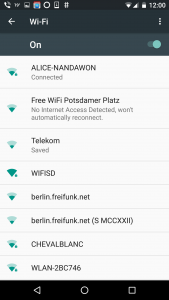
- Open Settings-WiFi on your phone.
- Look for WIFISD hot-spot.
- Enter the default password: 12345678 (you can change this later to provide better security)
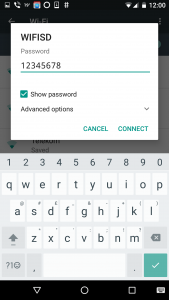
- Once connected, it correctly reports that there is no Internet at this WiFi hot-spot.
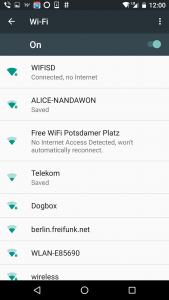 You may get a message box telling you if you want to remain connected to this hot-spot.
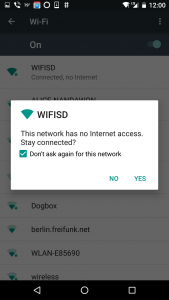
- If so, click Yes, otherwise the phone will disconnect from this hot-spot and you will lose connection of the WiFi card.
- This completes the WiFi connection from the phone to the camera.
Using the App
- First of all, turn on the camera, after you’ve inserted the Trenscend card into the memory card slot. As long as the camera is ON, the WiFi is enabled on the card.
- Connect the phone to the WiFi of the card (see Configuration section above).
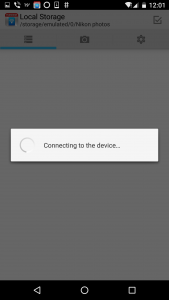
- Start up the WiFi SD app and it will attempt to connect to the card on the phone.
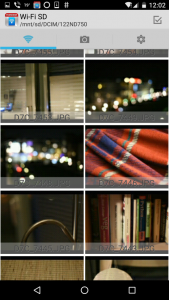
- Once connected, you will see a screen like this, with 3 icons at the top: Wifi, Camera and Settings.
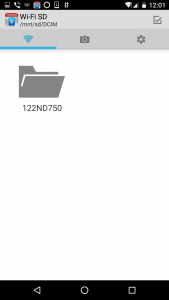
- With the Wifi icon selected, tap on the folder icon, and you will see a list of photos from the memory card. Note that these are only thumbnails and not full-size photos, so the image quality will not be that great in this view, allows you to view all the photos from the card quickly.
Downloading 1 Photo at a Time
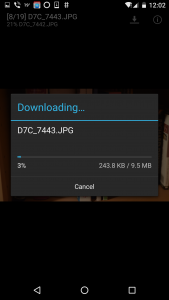
- Tap on a photo you wish to download from the app screen. The photo will be shown on the screen.
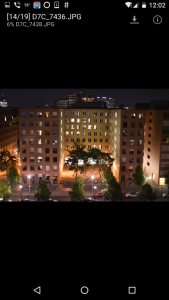
- Tap on the Down Arrow button on the top-right corner of the screen, and the photo will start to download to your phone.
You can then repeat the above process for each photo you wish to download, but this can be quite laborious.
Downloading Multiple Photos
Instead of downloading each photo separately, you can download a whole bunch of photos in one go. To do this:-
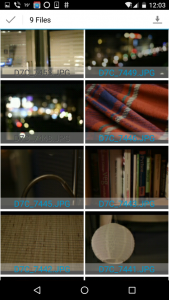
- Tap on the grey ‘tick-box’ (Select) icon on the top-right corner of the screen.
- Tap on the photos you wish to download. Once selected, the file name changes its colour to blue to indicate the selected photos.
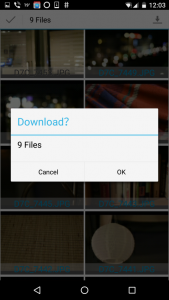
- Tap on the large Tick icon on the top left corner. A dialog will ask you if you want to download all the selected photos.
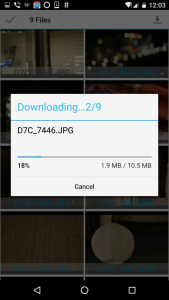
- Click OK and the photos will start to download.
- Open the File Manager app on your phone and you will be able to find the photos in a folder. In the screen shot below, they are inside a folder called NIKON PHOTOS.
This is a folder that I created before using the app. The steps below show how to change the location where the photos will be downloaded from your camera onto your phone.
Selecting a Download Folder on your Phone
You can change the location where the photos are stored on your phone. By default, the photos will be stored in a folder called WI-FI SD inside the DCIM folder of your internal memory. If you wish to change to a different location, the steps are:-
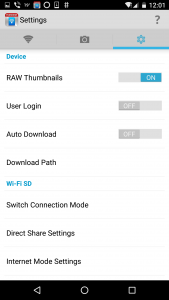
- Tap on the Settings (cog wheel) icon on the main screen.
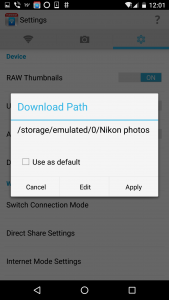
- In the list of options shown, tap on the Download Path. This will then show you the original location where the photos will be copied to.

- To change this location, tap on the Edit button in the dialog. This opens a new dialog called Select a Folder.
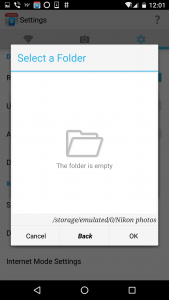
- Tap on the Back button and search for the folder you wish to store the photos. In my case, I’ve selected a folder I created earlier called ‘Nikon Photos’.
- Once you have selected a folder of your choice, tap on the Apply button. Now all the photos will be downloaded to this folder instead.
