1 Install Android USB Driver
To install the Android USB driver on Windows 7 for the first time:
- Connect your Android-powered device to your computer’s USB port.
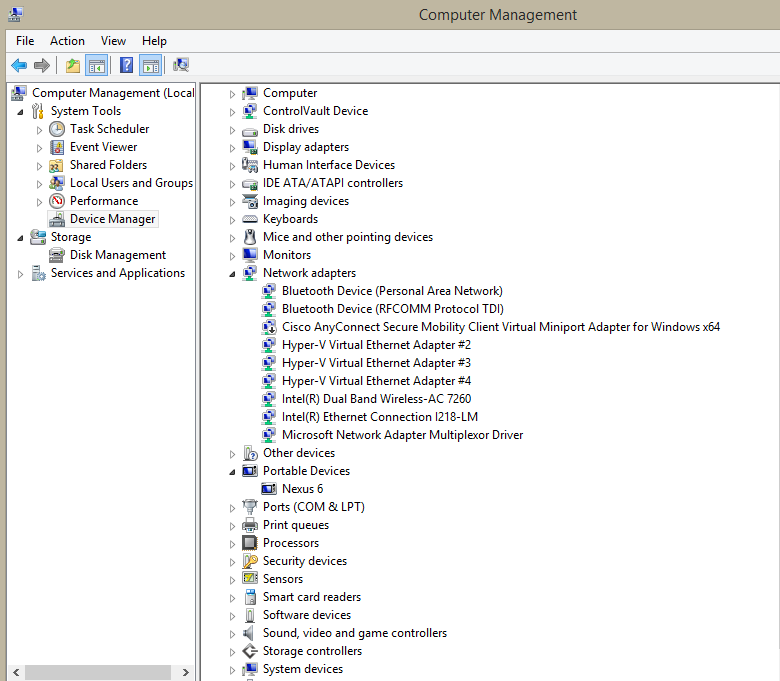
- Right-click on Computer from your desktop or Windows Explorer, and select Manage.
- Select Devices in the left pane.
- Locate and expand Other device in the right pane.
- Right-click the device name (such as Nexus S) and select Update Driver Software. This will launch the Hardware Update Wizard.
- Select Browse my computer for driver software and click Next.
- Click Browse and locate the USB driver folder. (The Google USB Driver is located in <sdk>\extras\google\usb_driver\.)
- Click Next to install the driver.
Alternately, to upgrade an existing Android USB driver on Windows 7 with the new driver:
- Connect your Android-powered device to your computer’s USB port.
- Right-click on Computer from your desktop or Windows Explorer, and select Manage.
- Select Device Manager in the left pane of the Computer Management window.
- Locate and expand Android Phone in the right pane.
- Right-click Android Composite ADB Interface and select Update Driver. This will launch the Hardware Update Wizard.
- Select Install from a list or specific location and click Next.
- Select Search for the best driver in these locations; un-check Search removable media; and check Include this location in the search.
- Click Browse and locate the USB driver folder. (The Google USB Driver is located in <sdk>\extras\google\usb_driver\.)
- Click Next to upgrade the driver.
2 Download Rooting software
- You can download the software from the chainfire site: http://autoroot.chainfire.eu/.
- Look for nexus 6 and click on Download button.

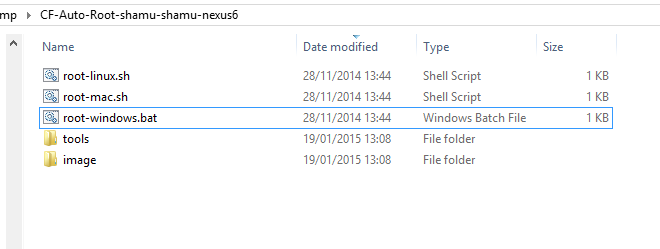
- Unzip the download file and the content will look like this:
3 Root the Device
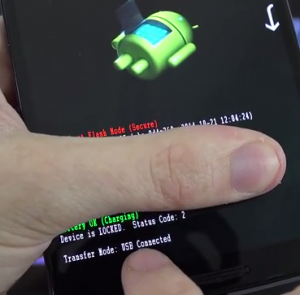
- Turn off the device and then turn back on by holding Volume Down and pressing Power button.
- Connect the device with the USB. It should say USB Connected.
- Double click on root-windows.bat and let it unlock and then root the device.
- The device will reboot after about a minute and the device will have been rooted.

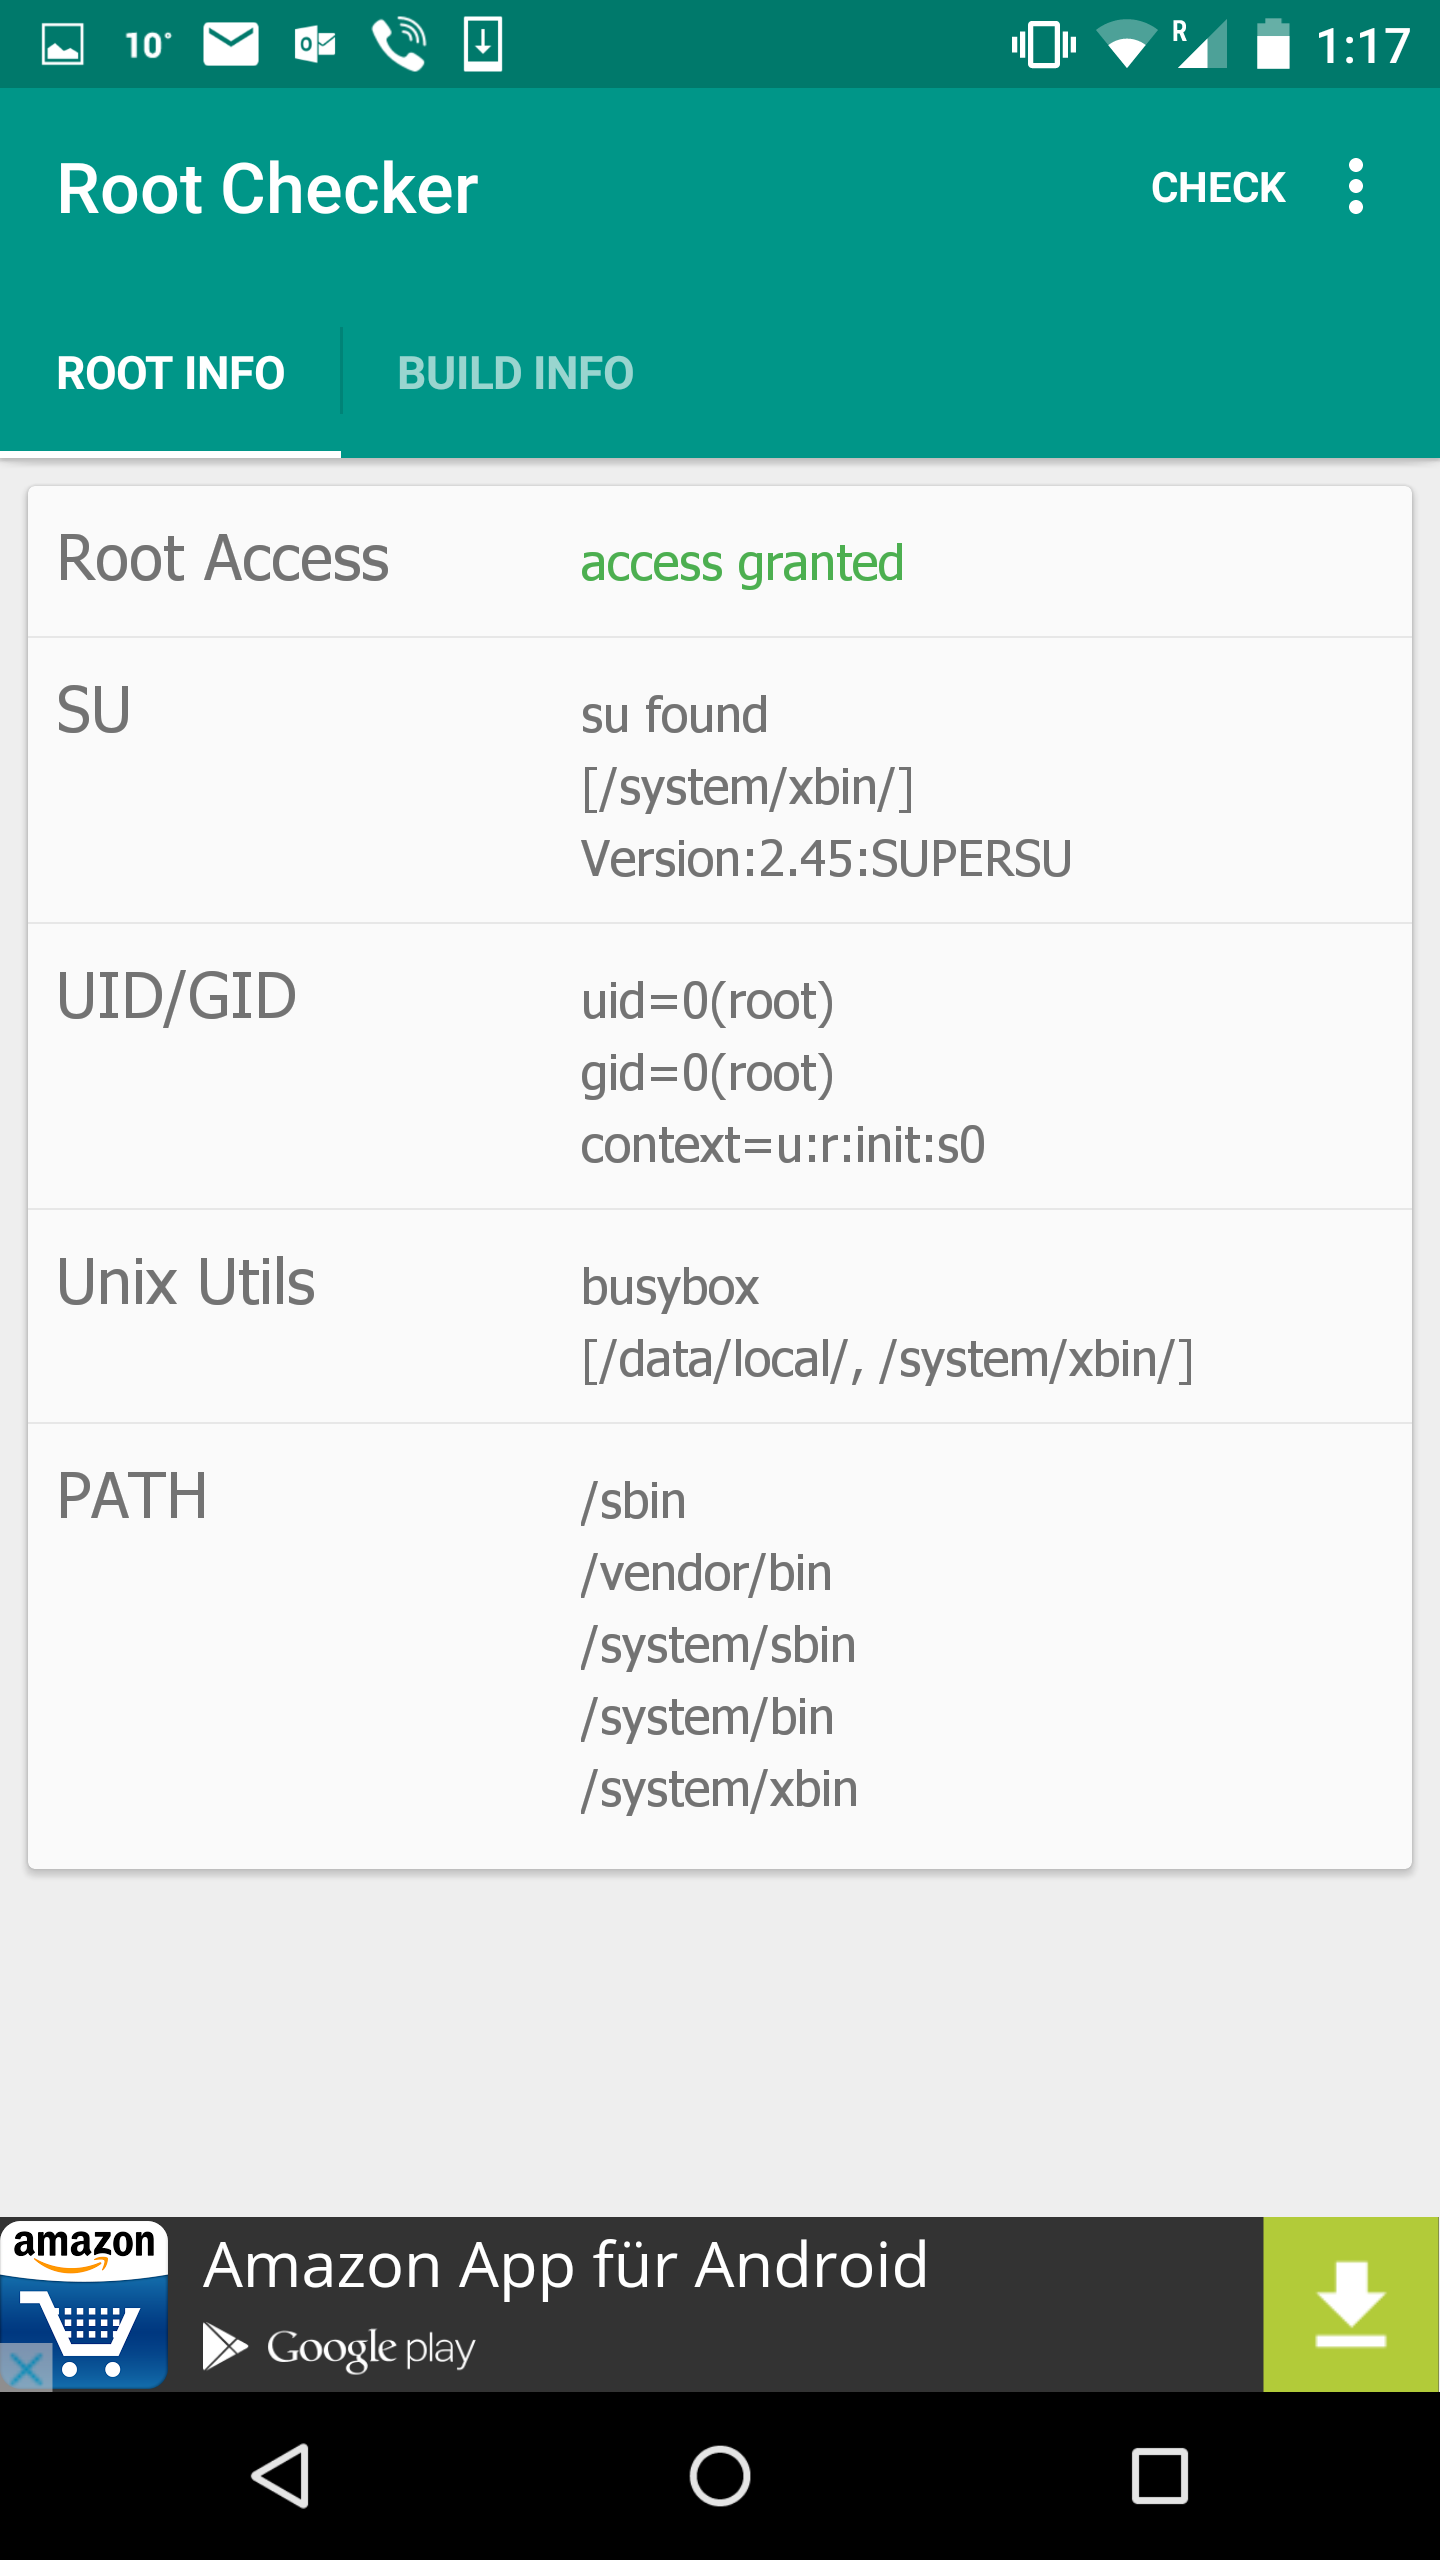
4 Confirm that the Device is rooted
To confirm that the device has been rooted correctly, the easiest way is to download a Root Checker app. After installing, click on the CHECK button and the Root Access will says access granted.